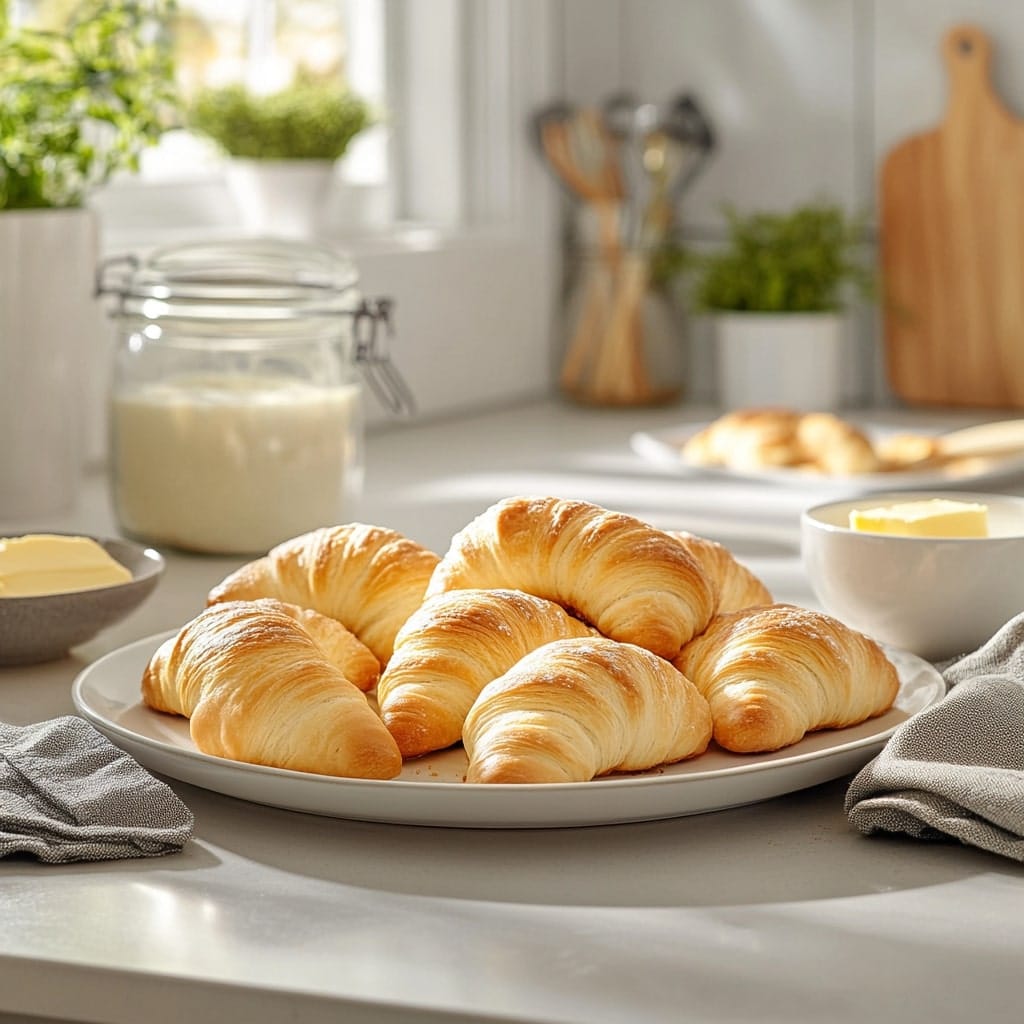
Gipfeli, often referred to as the Swiss croissant, is more than just a breakfast treat—it’s a beloved part of Swiss culinary culture. These golden, flaky, and buttery pastries are perfect for pairing with a warm cup of coffee or tea, making them a cozy and satisfying way to start your day. Unlike their French cousins, Gipfeli have a slightly denser texture, giving them a unique bite that’s hearty yet delicate.
Whether you’re missing the charm of a Swiss bakery, want to surprise your loved ones with an authentic treat, or simply want to try your hand at something delicious, this detailed Gipfeli recipe will walk you through every step. You’ll not only enjoy the process but also feel a sense of accomplishment when your kitchen fills with the heavenly aroma of fresh pastries.
Why You’ll Love Gipfeli
Gipfeli are comforting, flavorful, and endlessly versatile, making them a favorite for all kinds of occasions. They’re less sweet than many pastries, which means they pair wonderfully with both sweet and savory fillings. Imagine biting into a warm, flaky Gipfeli filled with creamy cheese or spreading a dollop of homemade jam on it for a morning treat—sounds amazing, right?
What’s even better is how fun they are to make at home. The process may seem a little intricate at first, but once you’ve mastered the technique, it’s like unlocking a secret to bakery-level goodness in your own kitchen. Honestly, after you’ve experienced the fresh, buttery layers of homemade Gipfeli, those store-bought versions just won’t measure up anymore.
Ingredients for Gipfeli
For the Dough:
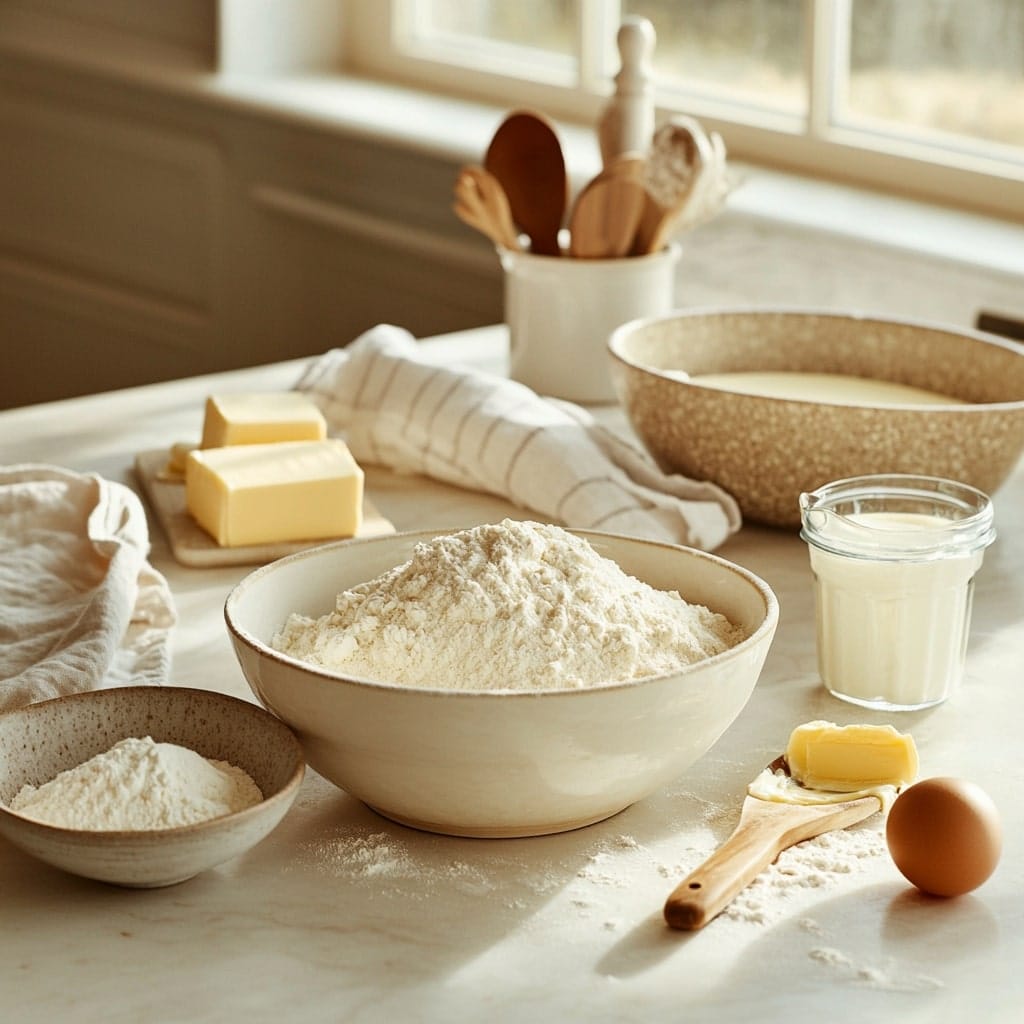
- 500g (4 cups) all-purpose flour
- 60g (4 tbsp) sugar
- 10g (2 tsp) salt
- 20g (2 tbsp) fresh yeast or 7g (2 tsp) dry yeast
- 250ml (1 cup) lukewarm milk
- 1 large egg
- 50g (3 tbsp) unsalted butter, softened
For the Butter Layer:
- 250g (1 cup) unsalted butter, chilled
For the Glaze:
- 1 egg yolk
- 1 tbsp milk
Step-by-Step Guide to Making Gipfeli
1. Prepare the Dough
To start, dissolve the yeast in lukewarm milk. This helps activate the yeast, ensuring a good rise. In a large mixing bowl, mix together the flour, sugar, and salt. Create a well in the center of the dry ingredients and pour in the milk mixture. Add the egg and softened butter. Begin kneading the dough by hand for 8–10 minutes, or use a stand mixer with a dough hook for about 5 minutes. The dough should become smooth and elastic—not too sticky and not too dry. If it feels too dry, add a tablespoon of milk at a time until it reaches the right consistency.
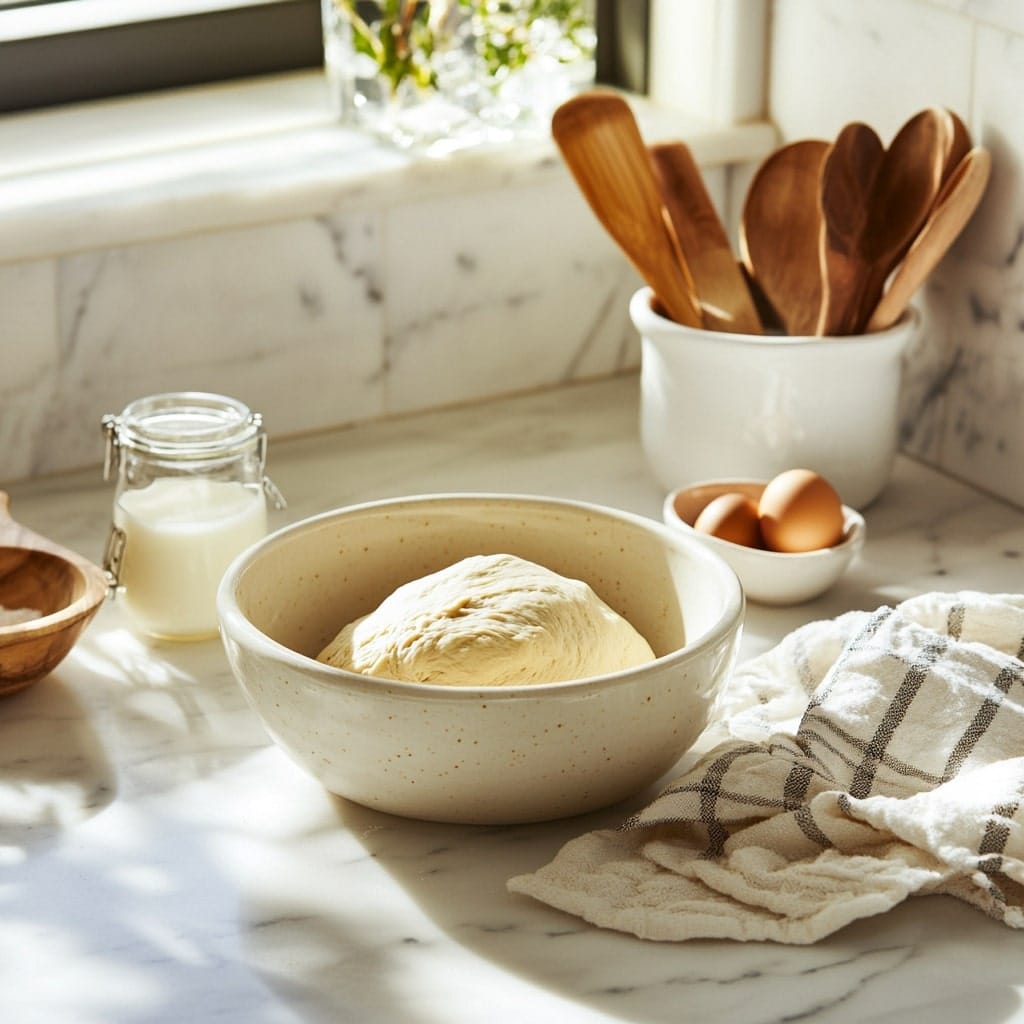
Once kneaded, shape the dough into a smooth ball and place it in a lightly greased bowl. Cover with a clean kitchen towel and set it in a warm, draft-free spot to rise for about an hour, or until it has doubled in size. To test if the dough is ready, gently press it with your finger; if the indentation springs back slowly, it’s perfect.
2. Prepare the Butter Layer
While the dough is rising, work on the butter layer. Take the chilled butter and place it between two sheets of parchment paper. Using a rolling pin, gently pound the butter until it forms a neat rectangle about 1 cm (1/3 inch) thick. This step helps make the butter pliable without letting it soften too much, which is crucial for creating flaky layers. Once shaped, chill the butter again so it stays firm but not rock hard. Keeping the butter at the right temperature ensures it integrates into the dough during lamination without melting.
3. Laminate the Dough
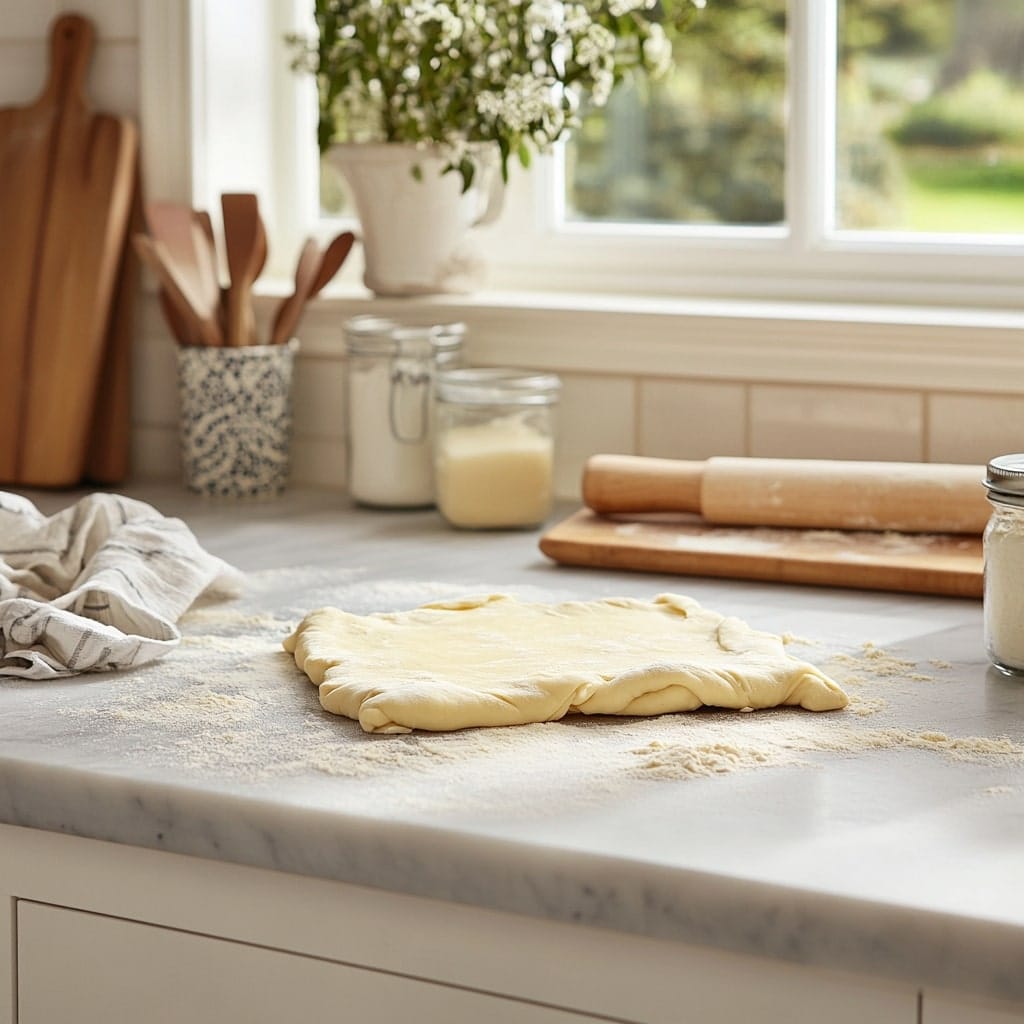
After the dough has risen, punch it down gently to release air bubbles and roll it out on a lightly floured surface into a rectangle about twice the size of your butter layer. Place the butter rectangle in the center of the dough. Fold the dough over the butter like an envelope, ensuring the edges are sealed to keep the butter from leaking out.
Next, roll out the dough gently into a larger rectangle. Be careful not to press too hard, as this could cause the butter to break through. Fold the dough into thirds, like a business letter, to create the first “turn.” Wrap the folded dough in plastic wrap and refrigerate for 30 minutes to allow the butter to firm up and the gluten to relax. Repeat this rolling, folding, and chilling process two more times, for a total of three turns. These folds create the distinct flaky layers Gipfeli are known for.
4. Shape the Gipfeli
With the laminated dough ready, roll it out into a large rectangle about 5 mm (1/4 inch) thick. Using a sharp knife or pizza cutter, cut the dough into triangles. For uniformity, aim for triangles with a base of about 8 cm (3 inches). Starting from the base, roll each triangle tightly towards the tip, shaping it into a crescent as you go. Place each rolled Gipfeli on a baking sheet lined with parchment paper, leaving enough space between them for proofing.
5. Proof the Gipfeli
Cover the shaped Gipfeli loosely with a clean kitchen towel and let them proof for 30–45 minutes in a warm place. They should puff up slightly but not double in size. Proper proofing gives the Gipfeli their light texture. Avoid over-proofing, as this can cause them to collapse during baking.
6. Glaze and Bake
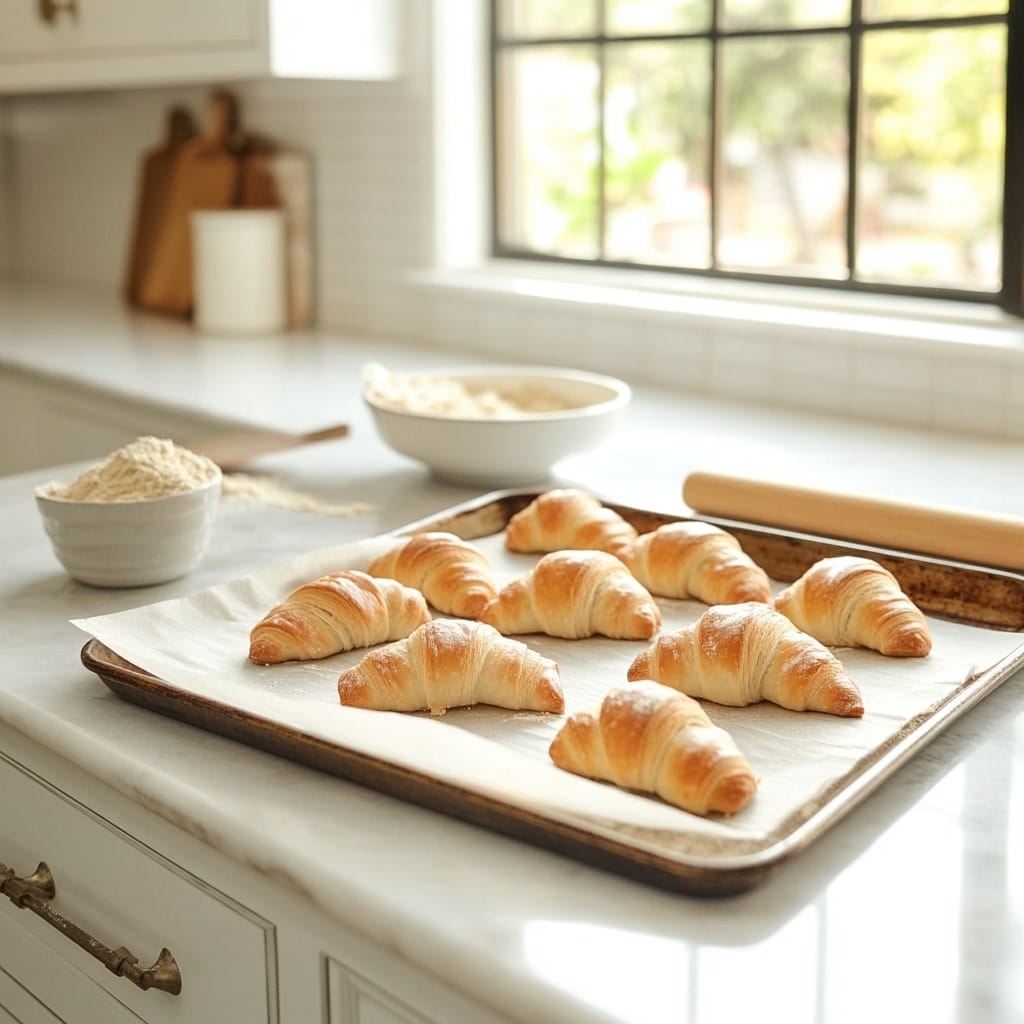
Preheat your oven to 200°C (400°F). To create the glaze, whisk together the egg yolk and milk. Lightly brush the Gipfeli with the glaze, ensuring even coverage for a golden, shiny finish. Bake the Gipfeli in the preheated oven for 15–20 minutes, or until they are beautifully golden brown and your kitchen smells like a Swiss bakery. Once baked, transfer them to a wire rack to cool slightly before serving.
If you’re looking for more ways to start your day off right, check out my Breakfast Ideas category! It’s packed with delicious recipes like this one, from hearty classics to quick, grab-and-go options. Whether you’re craving something savory or have a sweet tooth, there’s a recipe waiting to make your morning extra special.
Tips for Perfect Gipfeli
- Keep the butter cold: Keeping the butter cold is non-negotiable if you want those beautiful, flaky layers in your Gipfeli. Warm butter melts too quickly, blending into the dough instead of staying distinct, which ruins the lamination process. To keep it cold, work quickly and chill the dough as needed between steps—you can even pop it in the freezer for a few minutes if your kitchen is warm.
- Don’t rush the process: Chilling the dough between turns is the secret to a light, airy texture. Skipping or shortening this step can result in dense, uneven pastries. Think of it like letting the dough “rest” so the butter stays in place and the gluten relaxes, making it easier to work with. Be patient, and trust me, the extra time is worth it for that melt-in-your-mouth finish.
- Use a sharp knife: When it comes to cutting the dough into triangles, a sharp knife or pizza cutter is your best friend. A clean, precise cut prevents the layers from getting squished, which can affect the rise and texture during baking. If the edges are smushed, the Gipfeli might bake unevenly—so keep your tools sharp and your cuts clean!
Serving Suggestions
Gipfeli are absolutely delightful on their own, but if you’re in the mood to dress them up a little, the possibilities are endless! Their neutral, buttery flavor pairs beautifully with a variety of accompaniments. Here are some ways you can serve them to suit any craving:
- Sweet Fillings: Spread a generous layer of your favorite jam, drizzle some golden honey, or slather on creamy Nutella for a dessert-like experience. For something extra special, consider adding fresh fruits like sliced strawberries or bananas on top.
- Savory Options: Turn your Gipfeli into a mini meal by adding savory fillings like melted cheese, thin slices of ham, or even scrambled eggs. Want to elevate it further? Try smoked salmon with cream cheese and dill for a gourmet touch.
- A Hot Drink: Of course, no pastry experience is complete without a comforting drink. Serve your Gipfeli with a steaming cup of freshly brewed coffee, a rich hot chocolate topped with whipped cream, or a soothing cup of tea. For a seasonal twist, pair them with a pumpkin spice latte in the fall or iced tea during summer.
Whether you keep it simple or go all out with toppings, Gipfeli adapt to whatever your taste buds desire. They’re the ultimate crowd-pleaser, perfect for everything from breakfast to a midnight snack.
Storage Instructions
- Room Temperature: Store Gipfeli in an airtight container for up to 2 days to keep them fresh. Make sure the container is truly airtight to prevent the pastries from drying out. You can also place a piece of parchment paper between layers to avoid them sticking together. For best results, consume them as soon as possible to enjoy their flaky texture at its peak.
- Freezing: If you want to save Gipfeli for later, freezing is the way to go. Allow the pastries to cool completely to room temperature before placing them in a freezer-safe bag. For added protection, wrap each Gipfeli individually in plastic wrap before adding them to the bag—this prevents freezer burn and keeps them fresher for longer. Label the bag with the date to track storage time. Gipfeli can be frozen for up to a month. When you’re ready to enjoy them, reheat directly from frozen in a preheated oven at 180°C (350°F) for 5–10 minutes. This method crisps up the layers and restores their buttery aroma, making them taste almost as good as freshly baked.
FAQs About Gipfeli Recipe
1. What’s the difference between Gipfeli and croissants?
Gipfeli have a denser texture and a slightly firmer bite compared to the airy, buttery layers of traditional French croissants. They are also less sweet, which makes them a versatile option for both sweet and savory pairings. The dough for Gipfeli tends to be simpler, with a focus on subtle richness rather than indulgent decadence.
Curious about how Gipfeli differ from traditional French croissants? Check out this guide on the differences between croissants and Gipfeli to learn what sets these pastries apart, from texture to taste!
2. Can I use whole wheat flour instead of all-purpose flour?
Yes, you can substitute whole wheat flour, but keep in mind that the texture will be noticeably heavier and less flaky. For a balanced result, try combining half whole wheat flour with half all-purpose flour. This combination preserves some of the lightness while adding a nutty flavor and a slight nutritional boost. Remember to adjust the liquid slightly, as whole wheat flour tends to absorb more moisture.
3. How can I make Gipfeli vegan?
Making Gipfeli vegan is easier than you might think! Substitute the milk with almond milk, oat milk, or any other non-dairy alternative. Use a high-quality plant-based butter for the lamination process to maintain those signature flaky layers. For the glaze, you can skip the egg entirely or opt for a mix of non-dairy milk and maple syrup for a golden finish. The result will still be delicious and flaky—perfect for plant-based eaters.
4. Why didn’t my Gipfeli rise properly?
If your Gipfeli didn’t rise as expected, it could be due to a few factors. Inactive yeast is often the culprit, so always check the expiration date and proof the yeast in warm liquid before using it. Over-chilled butter can also interfere with the rise, as it makes the dough harder to roll and fold evenly. Finally, proofing time is crucial—make sure to let the dough rise in a warm, draft-free environment until it has visibly puffed up.
5. Can I add fillings to my Gipfeli?
Absolutely! Adding fillings is a great way to customize your Gipfeli. For sweet options, try chocolate, fruit jam, or even almond paste. If you prefer savory flavors, fillings like grated cheese, ham, or sautéed mushrooms work beautifully. When adding fillings, be mindful not to overstuff the triangles, as this can make them harder to roll and may cause leaks during baking. For best results, use small, evenly distributed amounts and seal the edges tightly.
Conclusion
Making Gipfeli at home is more than just following a recipe—it’s a chance to experience the joy of creating something truly special. These pastries capture the essence of Swiss baking, combining rich flavors and a beautifully flaky texture that’s hard to resist. The satisfaction of pulling a tray of golden Gipfeli from your oven and watching your loved ones enjoy them is unmatched.
These pastries are wonderfully versatile. You can savor them plain, let the buttery layers melt in your mouth, or get creative with your favorite fillings, from sweet jams to savory cheese and ham. Their adaptability makes them perfect for breakfast, brunch, or even an afternoon snack paired with a cup of coffee or tea.
Don’t worry if the process feels a bit daunting at first. Rolling, folding, and shaping the dough might take some practice, but every step is a learning experience that brings you closer to mastering this delicious treat. Plus, there’s something so rewarding about filling your kitchen with the heavenly aroma of freshly baked Gipfeli—it’s a moment worth savoring. So go ahead, roll up your sleeves, gather your ingredients, and dive into this Swiss classic. Your taste buds (and your family) will thank you for the effort!

