If you’ve ever had Chick-fil-A’s mac and cheese, you know it’s not just mac and cheese—it’s like a warm, cheesy hug in a bowl. Seriously, it’s the ultimate comfort food with its perfect mix of creamy, gooey, and baked goodness. The best part? You don’t have to sit in a long drive-thru line to get your hands on it. This recipe makes it easy to recreate that dreamy mac and cheese right in your kitchen. I’ll walk you through every step, so you can enjoy this cheesy masterpiece anytime you’re in the mood for some homemade magic.
What Makes Chick-fil-A Mac and Cheese So Special?
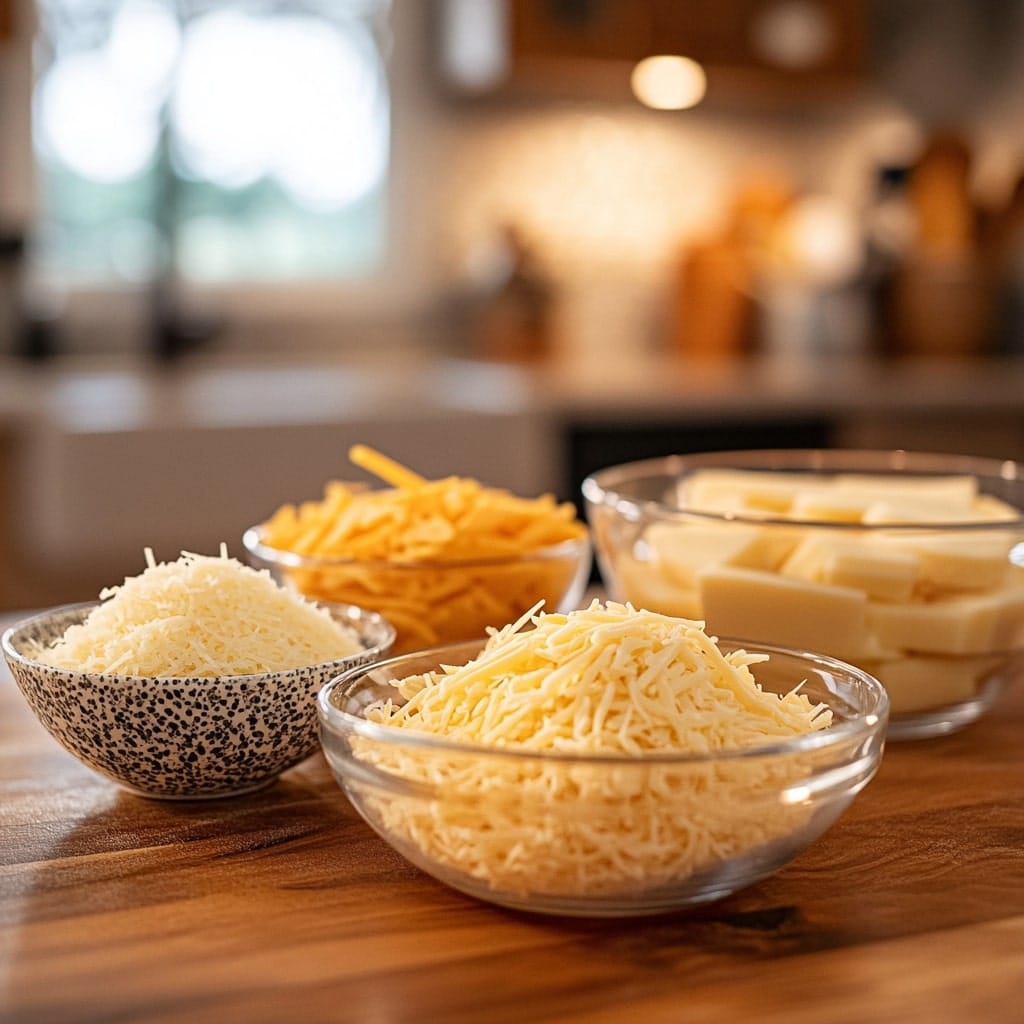
Before we dive into the recipe, let’s talk about why this mac and cheese stands out. Chick-fil-A doesn’t just throw some cheese on pasta and call it a day. They use a carefully chosen blend of cheeses—sharp cheddar, Colby Jack, and Parmesan—to create a flavor that’s rich, balanced, and totally unforgettable.
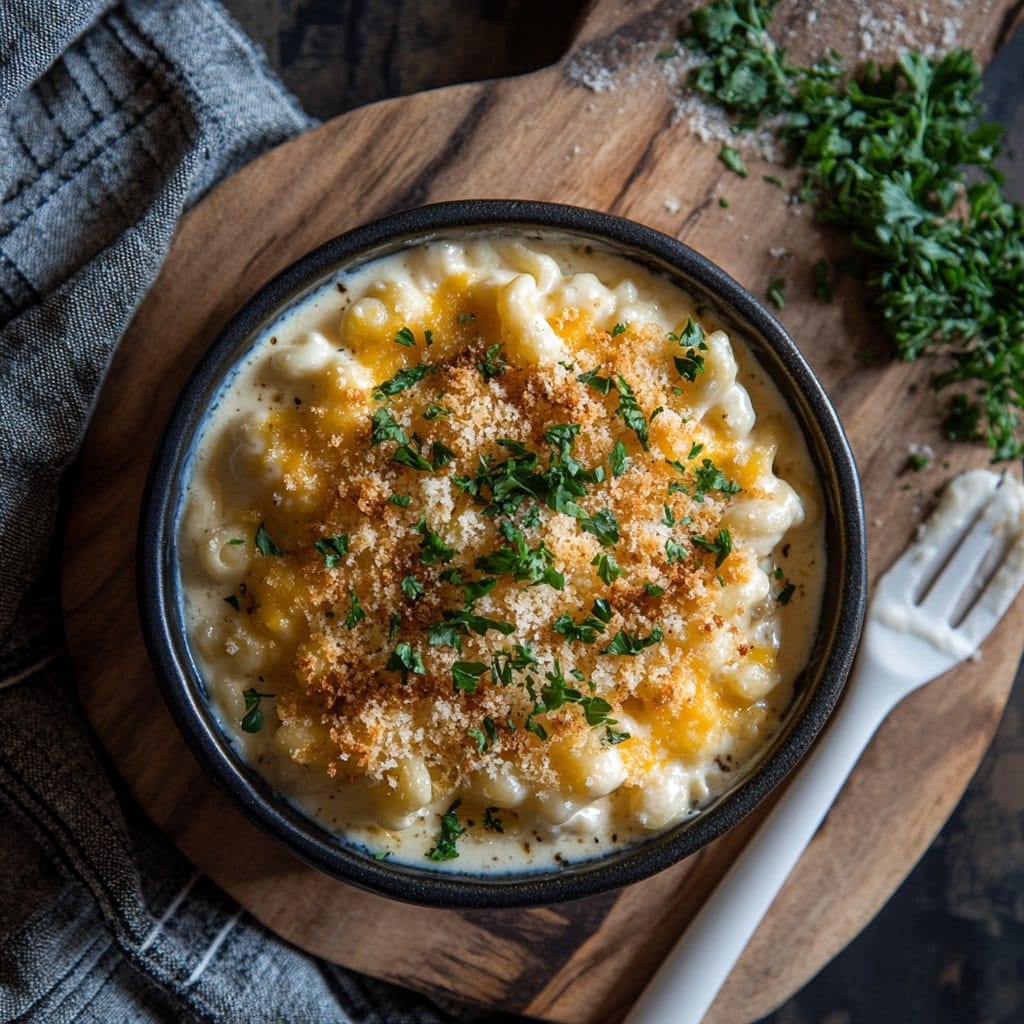
Then, they bake it to perfection, creating that signature golden, bubbly crust on top that makes each bite irresistible. It’s that balance of sharpness from the cheese, combined with the creamy, velvety sauce, that hits the sweet spot for comfort food lovers. And let’s not forget the nostalgia factor—one taste and you’re transported to family dinners where baked mac and cheese was always the star of the show. It’s like a warm culinary hug every time.
Ingredients You’ll Need
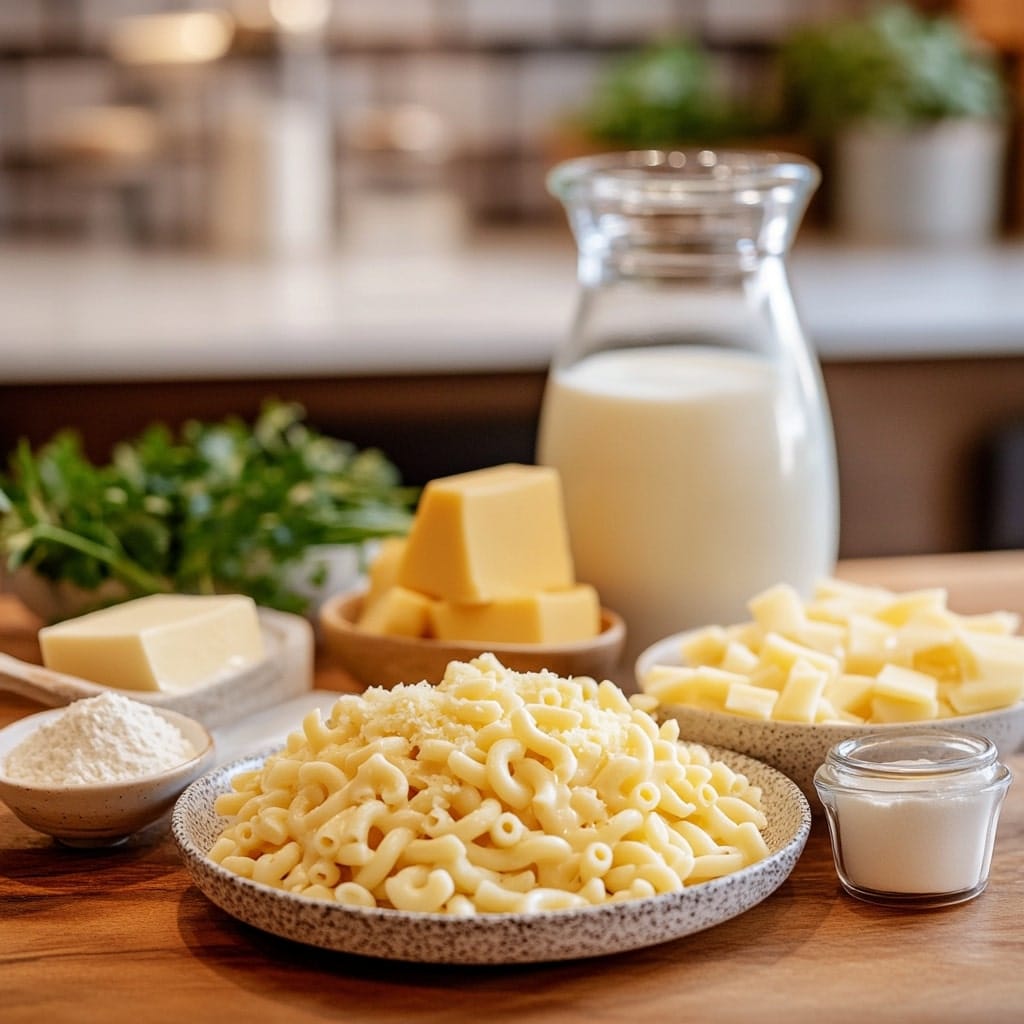
This recipe uses simple, pantry-friendly ingredients. Here’s what you’ll need:
For the Cheese Sauce:
- 2 cups elbow macaroni (classic choice, but you do you!)
- 2 cups sharp cheddar cheese, shredded
- 1 cup Colby Jack cheese, shredded
- 1/2 cup Parmesan cheese, shredded
- 2 cups whole milk
- 1 cup heavy cream
- 4 tablespoons unsalted butter
- 2 tablespoons all-purpose flour
- 1/2 teaspoon salt (adjust to taste)
- 1/4 teaspoon garlic powder
- 1/4 teaspoon white pepper (optional, but gives it a subtle kick)
For the Topping:
- 1/2 cup sharp cheddar cheese, shredded
- 1/4 cup Colby Jack cheese, shredded
- 2 tablespoons Parmesan cheese, shredded
Step-by-Step Instructions
1. Cook the Pasta
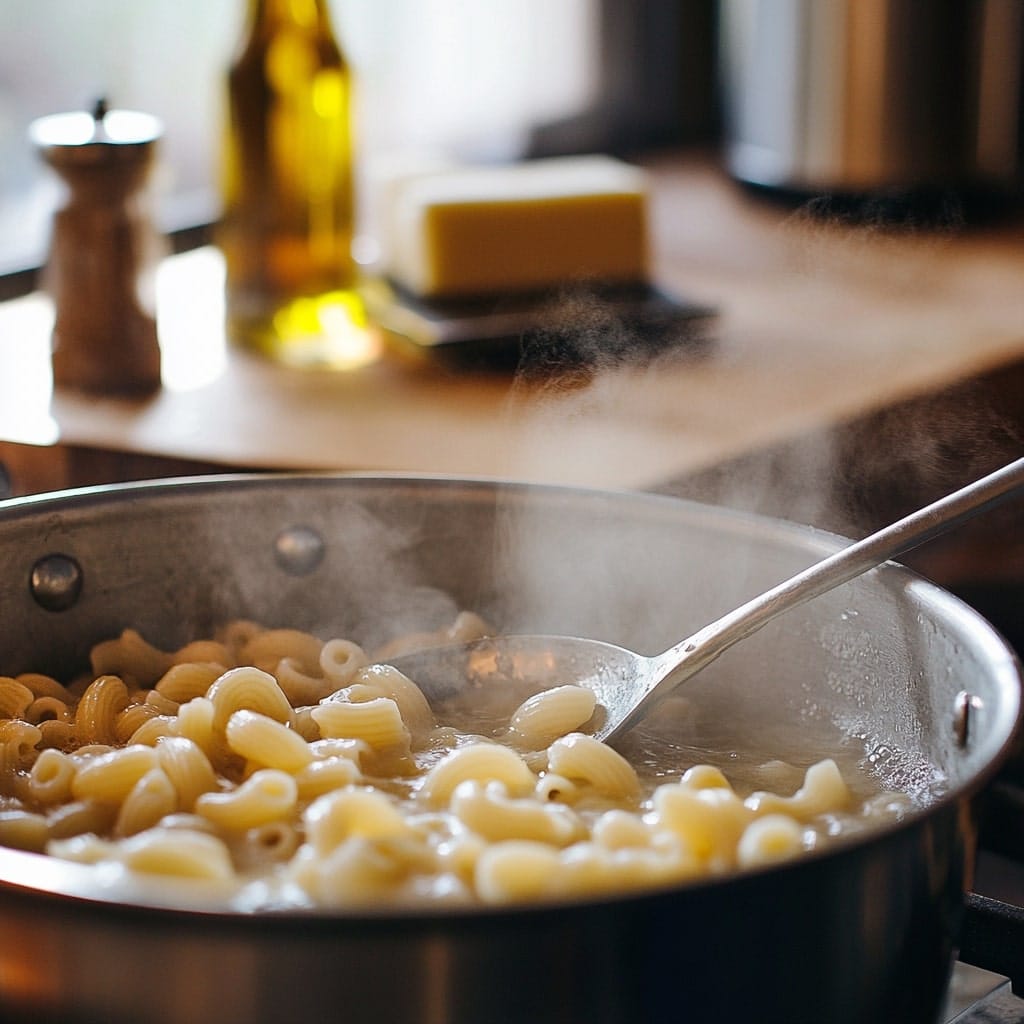
- Bring a large pot of salted water to a boil—use about 1 teaspoon of salt per quart of water for the best flavor. Add the elbow macaroni and cook it until it’s just al dente, which means tender but still slightly firm to the bite. (Remember, it’ll cook a little more in the oven!) Stir occasionally to prevent the pasta from sticking together.
- Once cooked, drain the pasta in a colander and give it a quick shake to remove excess water. Here’s a pro tip: toss the drained pasta with a small pat of butter or a light drizzle of olive oil to keep it from clumping while you prepare the cheese sauce. Set it aside and move on to the next step.
2. Make the Cheese Sauce
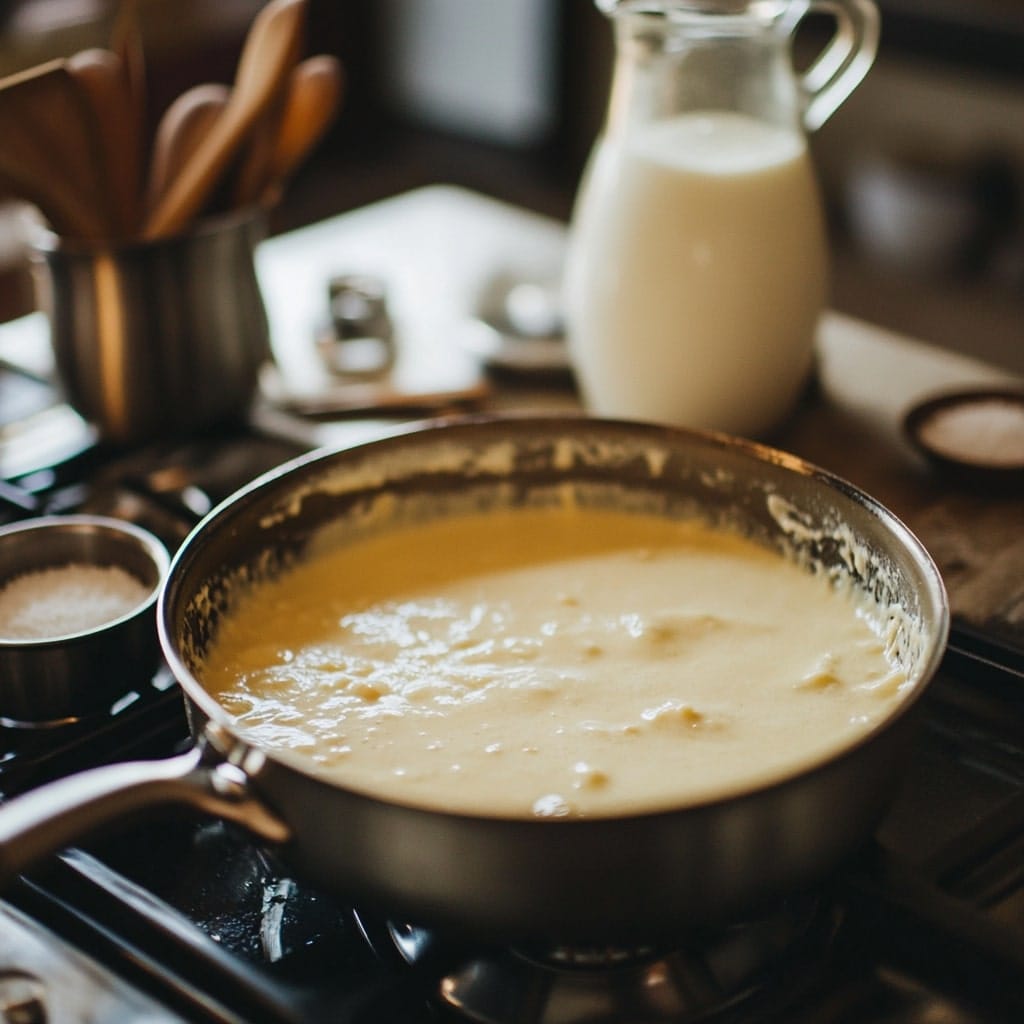
- In a large saucepan, melt the butter over medium heat. Once melted, whisk in the flour and cook for about 1-2 minutes. You want to cook out that raw flour taste but don’t let it brown.
- Gradually whisk in the milk and heavy cream, stirring constantly to avoid lumps. Keep stirring until the mixture thickens slightly—this takes about 5 minutes.
- Lower the heat and stir in the salt, garlic powder, and white pepper.
3. Add the Cheese
- Now for the fun part! Gradually stir in the shredded sharp cheddar, Colby Jack, and Parmesan, adding a handful at a time. Stir continuously as the cheese melts, creating a luscious, silky sauce. Take your time here—you want the cheese to fully incorporate into the sauce without clumping. As the cheese melts, you’ll notice the sauce thickening into that perfect creamy texture that makes mac and cheese so irresistible. Keep stirring until every bit of cheese is melted and smooth.
4. Combine Pasta and Sauce
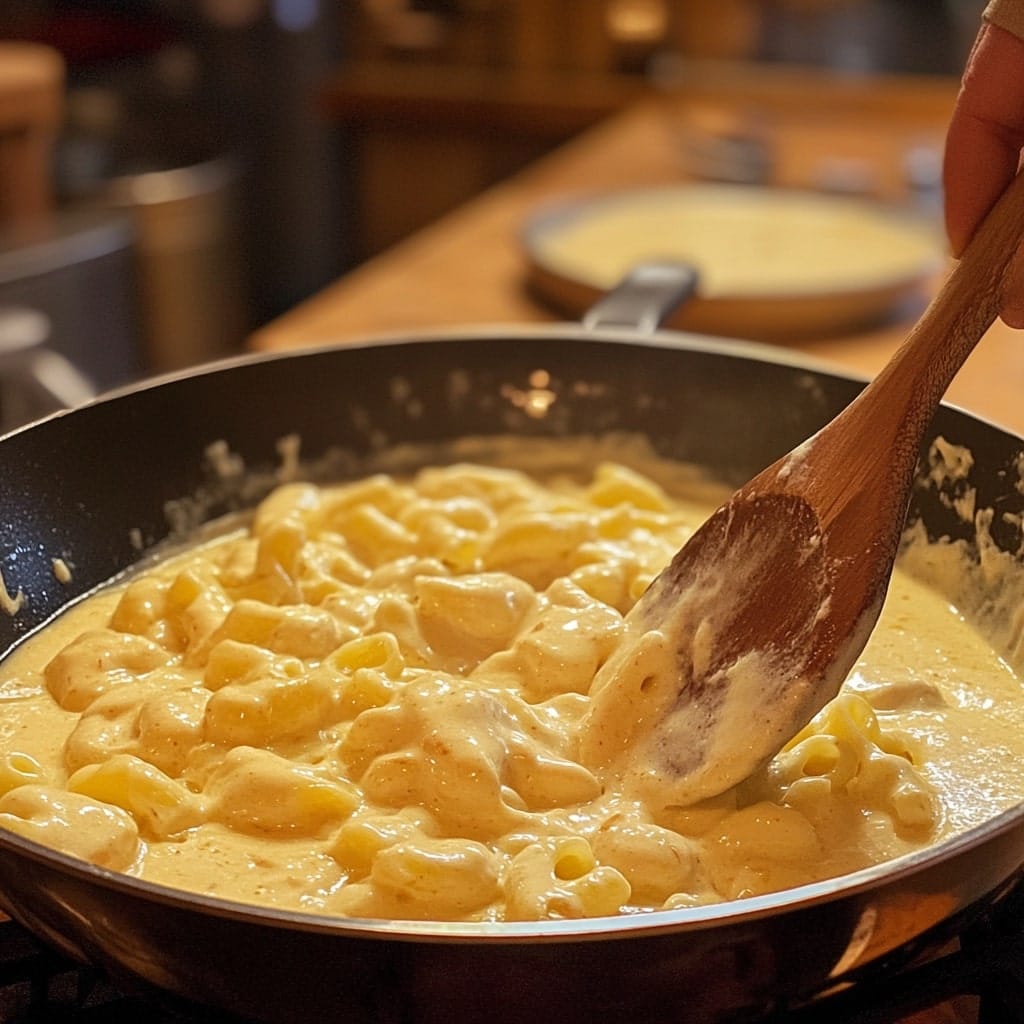
- Add the cooked macaroni to the cheese sauce and mix gently until every piece of pasta is luxuriously coated. Make sure to stir well so the creamy sauce gets into all the little nooks and crannies of the pasta. This step is where the magic happens—each bite should be rich, cheesy, and utterly satisfying.
5. Assemble and Bake
- Preheat your oven to 400°F.
- Pour the cheesy pasta into a greased baking dish.
- Sprinkle the topping cheeses evenly over the mac and cheese.
- Bake for about 15-20 minutes, or until the cheese on top is bubbly and golden.
6. Serve and Enjoy
- Let it cool for a few minutes (if you can wait that long). Trust me, those first few bites are worth the wait to avoid burning your tongue! Then grab a spoon—or a fork, if you’re fancy—and dig in. Every bite is a little taste of heaven, with gooey cheese and tender pasta coming together in perfect harmony. Enjoy it while it’s warm and melty, because that’s when it’s at its best.
Looking for more dinner inspiration? Check out my Dinner Recipes for easy, delicious meals your whole family will love. From comforting casseroles to quick weeknight favorites, there’s something for everyone!
Pro Tips for Nailing Chick-fil-A Mac and Cheese Recipe
- Use Freshly Shredded Cheese
Pre-shredded cheese might be convenient, but it contains anti-caking agents that can mess with the creaminess of your sauce. Always take the extra time to shred your cheese at home—you’ll be rewarded with a sauce that’s smoother, creamier, and more flavorful. Plus, freshly shredded cheese melts like a dream! - Don’t Skip the Baking
The oven step is what sets this apart from stovetop mac and cheese. That golden, melty crust on top adds both texture and an extra layer of cheesy goodness. Trust me, it’s a game-changer. - Customize Your Cheeses
While sharp cheddar, Colby Jack, and Parmesan are the classic combo, you can always experiment. Try adding Gruyere for a nutty flavor, smoked Gouda for a hint of smokiness, or even a touch of blue cheese if you’re feeling adventurous. - Make It Ahead
Short on time? You can prepare the mac and cheese up to the baking step and refrigerate it for up to 24 hours. When you’re ready to serve, just pop it in the oven. Add a few extra minutes to the bake time if it’s straight from the fridge. - Add Mix-Ins
Want to take this mac and cheese to the next level? Stir in cooked bacon bits for a smoky crunch, diced jalapeños for a spicy kick, or caramelized onions for a sweet-savory twist. You could even add shredded chicken or pulled pork for a heartier dish. - Pro Tip: Not sure which cheeses to use? Check out The Best Cheeses for Mac and Cheese for a detailed guide on picking the perfect cheese blend for ultimate creaminess and flavor!
5 FAQs About Chick-fil-A Mac and Cheese Recipe
1. Can I Use a Different Pasta Shape?
Absolutely! While elbow macaroni is the classic choice, there are so many fun pasta shapes you can use. Shells are great because they scoop up the cheese sauce perfectly. Cavatappi, with its spiral shape, adds a bit of texture and makes every bite extra satisfying. Penne is another excellent option as its tube-like shape fills with the creamy cheese, delivering maximum flavor. The key is to pick a pasta shape that holds onto the sauce, ensuring every bite is packed with cheesy goodness.
2. How Do I Store Leftovers?
Place leftovers in an airtight container and refrigerate for up to 3 days. When reheating, use the oven for the best results, as it helps restore the original baked texture. Cover the dish with foil to keep it from drying out. If you’re in a hurry, the microwave works too—just add a splash of milk or cream, stir well, and heat in short intervals to avoid uneven warming. Either way, the creamy goodness will come back to life with just a little care!
3. Is It Possible to Make This Gluten-Free?
Yes! Swap the regular pasta for a gluten-free version and use gluten-free flour for the sauce. You can also choose gluten-free breadcrumbs for the topping if you like a bit of crunch. The taste and texture will still be fantastic, and no one will even notice it’s gluten-free unless you tell them!
4. Can I Freeze It?
You sure can. Assemble the mac and cheese without baking, then freeze it for up to 2 months. To preserve the best texture, wrap the dish tightly with plastic wrap followed by aluminum foil before freezing. When you’re ready to enjoy, thaw it in the fridge overnight. Once thawed, bake it as directed, but add an extra 5-10 minutes to ensure it’s heated all the way through. For a fresh touch, sprinkle a bit of extra cheese or breadcrumbs on top before baking.
5. What’s the Secret to the Best Cheese Sauce?
The secret to achieving the best cheese sauce lies in using low heat and stirring constantly. This process ensures the cheese melts gradually and combines evenly with the other ingredients, creating a smooth and creamy texture. Patience is absolutely key here! Rushing the process can cause the sauce to separate or become grainy, which nobody wants. So take your time, keep stirring, and enjoy watching the sauce come together perfectly.
Conclusion
There you have it—a homemade Chick-fil-A mac and cheese recipe that’s so spot-on, you’ll forget it didn’t come from the drive-thru. It’s perfect for weeknight dinners, potlucks, or whenever you need a little comfort food magic in your life. Plus, the leftovers (if there are any) are just as good the next day.
Honestly, once you try this, you might not go back to the original. Okay, maybe you will because Chick-fil-A is amazing, but at least now you have a backup when the craving strikes on a Sunday!
So, what are you waiting for? Grab your ingredients, preheat that oven, and let the cheesy goodness begin. Happy cooking, friends! 🧀


