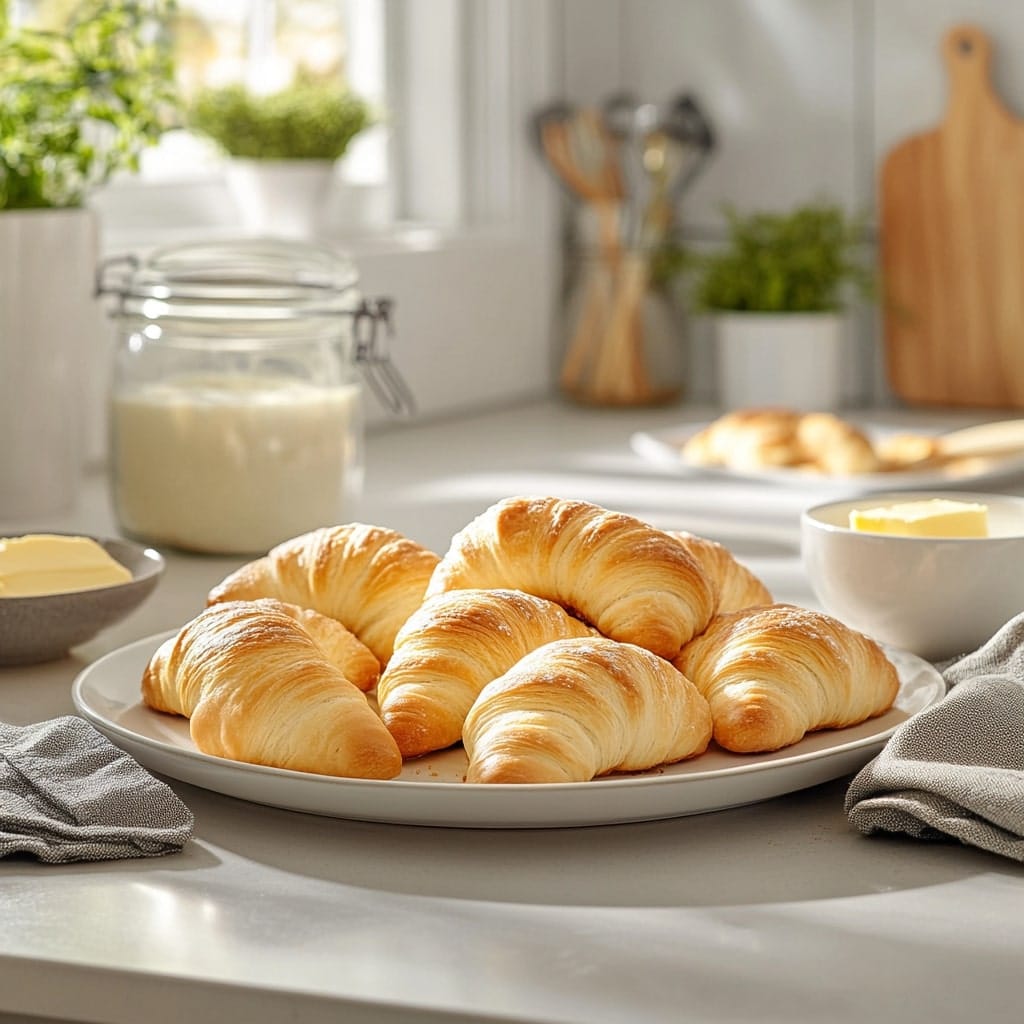
Gipfeli, often referred to as the Swiss croissant, is a breakfast staple that has captured the hearts of pastry lovers everywhere. Unlike its French cousin, the gipfeli boasts a slightly denser texture and a rich buttery flavor that’s impossible to resist. It’s the perfect pastry for those who love starting their day with something indulgent but not overly sweet. One bite, and you’ll see why this Swiss classic has such a devoted following.
What really sets gipfeli apart is its versatility. Whether you prefer savory fillings like ham and cheese or a touch of sweetness with Nutella or fruit preserves, this pastry has something for everyone. Plus, making gipfeli at home is a journey in itself — from carefully layering the dough to savoring the aroma as it bakes to golden perfection. Sure, it takes a bit of time and effort, but trust me, it’s well worth it.
In this Gipfeli recipe, I’ll walk you through every step, breaking down the process so even first-timers can succeed. With a few tips and tricks, you’ll soon be pulling a tray of fresh, flaky gipfeli out of your oven. So grab your ingredients and let’s roll up our sleeves—it’s time to create your own batch of buttery Swiss goodness!
Why Gipfeli is Special
Gipfeli holds a special place in Swiss culture, symbolizing a blend of tradition and comfort. Whether you’re strolling through the charming streets of Zurich or sitting in a cozy alpine café, it’s almost impossible not to encounter these delicious pastries. They’re often paired with a steaming cup of coffee or hot chocolate, making them an integral part of breakfast or an afternoon pick-me-up. The crescent-shaped pastry stands out with its rich, buttery layers and perfectly golden-brown crust that promises a satisfying bite every time.
Unlike French croissants, which tend to be light and airy, gipfeli offer a slightly denser texture that feels hearty and filling. This sturdiness makes them an ideal vehicle for a variety of fillings—from savory options like ham and Swiss cheese to sweet treats like chocolate or fruit preserves. Gipfeli are not just pastries; they’re an experience. Each layer tells a story of care and craftsmanship, which is why they’ve remained a beloved staple for generations.
And here’s the best part: making gipfeli at home is surprisingly rewarding, even for beginners. It’s not just about the taste, but also the process—from kneading the dough to laminating the butter and finally watching them puff up in the oven. There’s something magical about biting into a fresh, homemade gipfeli, still warm and fragrant. Trust me, once you’ve tried creating these buttery beauties yourself, you’ll never want to settle for store-bought versions again.
Ingredients You’ll Need for Gipfeli Recipe
For the Dough:
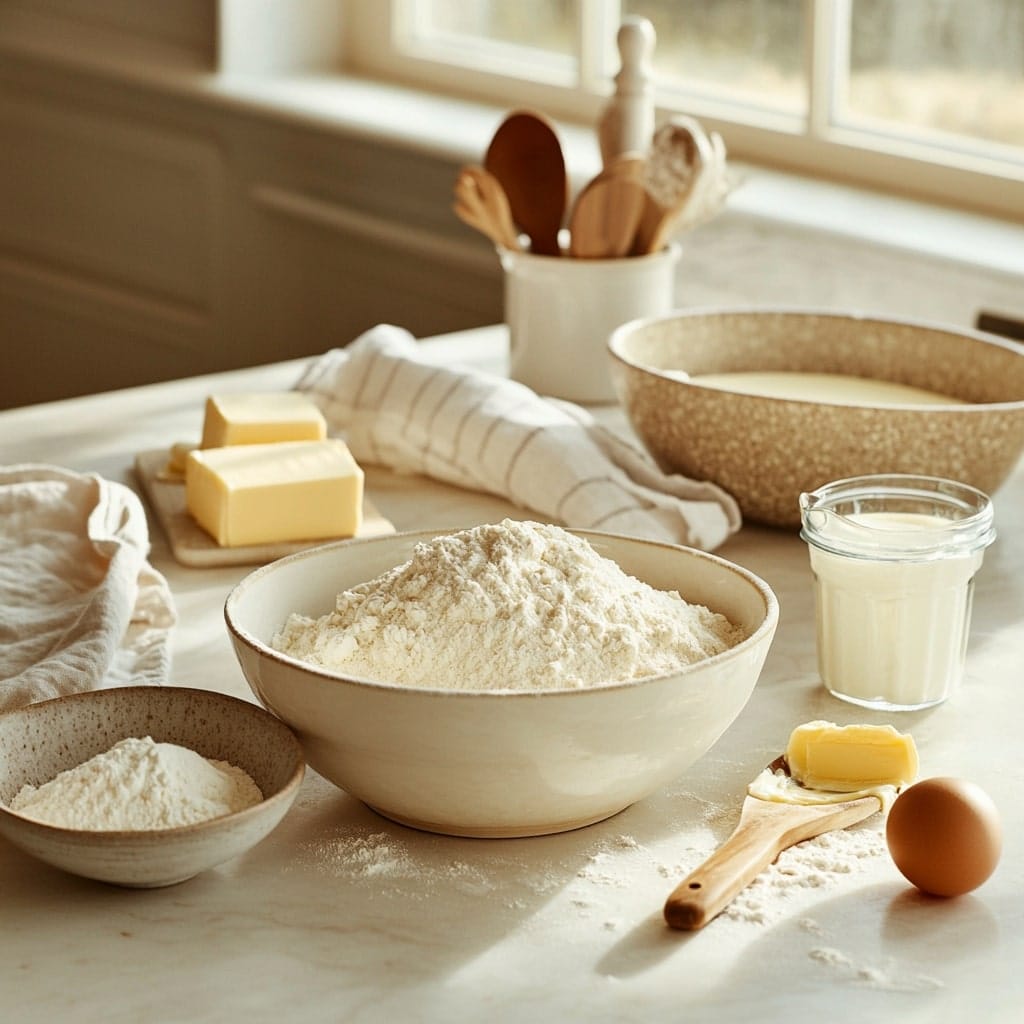
- 3 3/4 cups (450g) all-purpose flour
- 1/4 cup (50g) sugar
- 1 1/4 tsp salt
- 2 1/4 tsp (1 packet) instant yeast
- 3/4 cup (180ml) warm milk
- 1/2 cup (120ml) warm water
- 1 large egg
- 2 tbsp unsalted butter, softened
For the Butter Layer:
- 1 cup (225g) unsalted butter, cold and cubed
Optional Fillings:
- Swiss cheese slices
- Thinly sliced ham
- Nutella or chocolate spread
- Fruit preserves
For the Egg Wash:
- 1 egg yolk
- 1 tbsp milk
Step-by-Step Instructions
Make the Dough
- In a large mixing bowl, combine the flour, sugar, and salt. Mix until evenly distributed. Take a moment to make sure the ingredients are well incorporated—this will make the dough more uniform later.
- In a separate bowl, whisk together the warm milk, warm water, and yeast. Let it sit for 5 minutes until foamy. This step is crucial because it activates the yeast, ensuring your dough rises properly.
- Add the yeast mixture and the egg to the dry ingredients. Mix until a shaggy dough forms. Don’t worry if it looks messy at this stage; it will come together beautifully during kneading.
- Knead in the softened butter until the dough becomes smooth and elastic. This should take about 8-10 minutes by hand or 5 minutes using a stand mixer with a dough hook. The kneading develops the gluten, giving the gipfeli their structure.
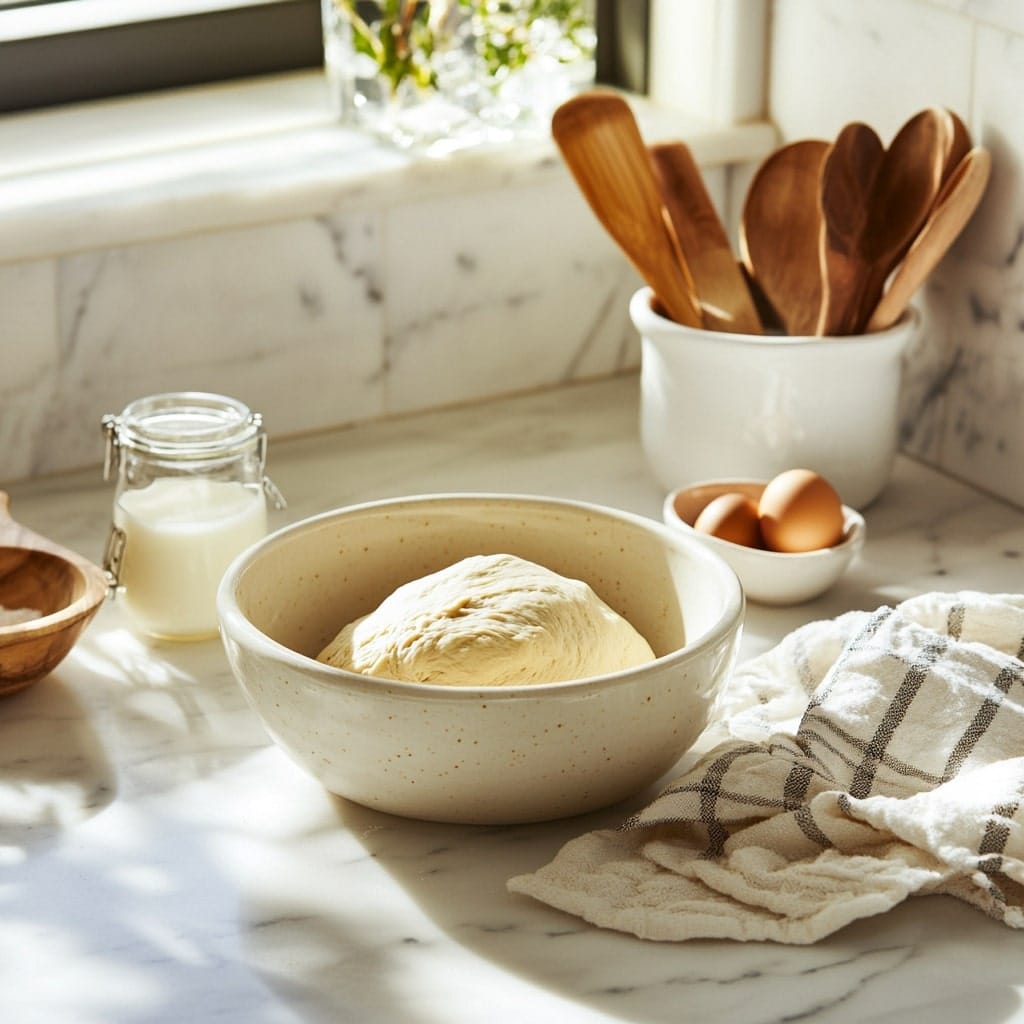
- Shape the dough into a ball, place it in a lightly greased bowl, and cover with a damp towel. Let it rise in a warm place for 1-2 hours, or until it doubles in size. A warm, draft-free environment like an oven with the light on works perfectly.
Prepare the Butter Layer
- Place the cold butter cubes between two sheets of parchment paper. This prevents sticking and sa an even surface.
- Using a rolling pin, flatten the butter into a 6×6-inch square. Work quickly to keep the butter cold, as this will help create the layers. Refrigerate the butter square while the dough rises to maintain its firmness.
Laminate the Dough
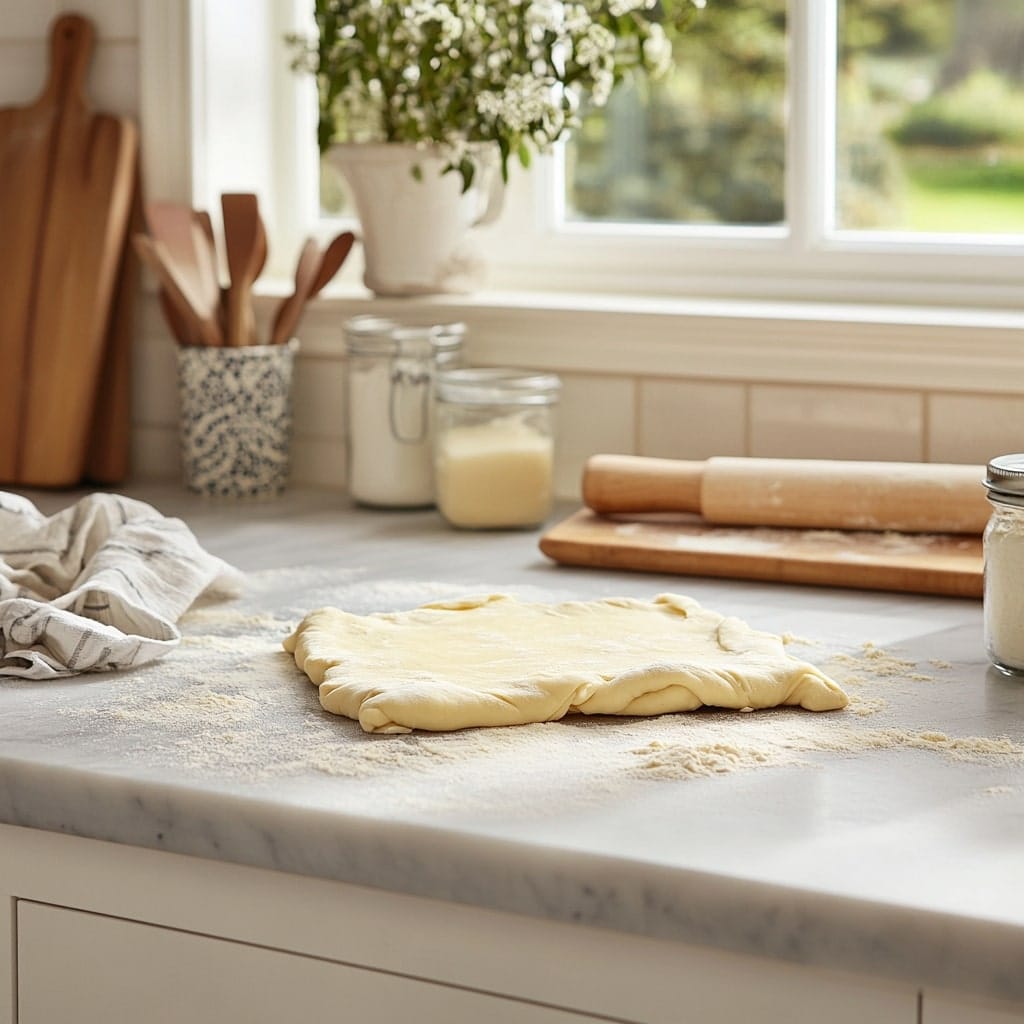
- Roll out the risen dough into a 12×12-inch square on a lightly floured surface. Keep your rolling pin and hands floured to prevent sticking.
- Place the butter square diagonally onto the dough so it looks like a diamond inside a square. This positioning helps distribute the butter evenly during folding.
- Fold the corners of the dough over the butter, enclosing it completely. Pinch the seams to seal. It’s important to satisfay no butter leaks out during rolling.
- Roll out the dough into a rectangle about 10×20 inches. Fold the dough into thirds, like a letter, then wrap it in plastic wrap and refrigerate for 30 minutes. This step marks the start of creating the flaky layers.
Repeat the Folding Process
- Remove the dough from the fridge and place it on a floured surface. Roll it out again into a 10×20-inch rectangle. Take care to maintain an even thickness.
- Fold it into thirds and refrigerate for another 30 minutes. Chilling the dough helps relax the gluten and solidify the butter.
- Repeat this process two more times for a total of four folds. This creates the signature layers of the gipfeli. By the final fold, you’ll notice the dough has become smoother and more pliable.
Shape the Gipfeli
- After the final chill, roll the dough into a large rectangle about 10×24 inches. Aim for uniform thickness to ensure even baking.
- Using a sharp knife or pizza cutter, cut the dough into long triangles. Each triangle should be about 4 inches at the base and 8 inches tall. Precision here helps create evenly sized pastries.
- Add any desired fillings to the base of each triangle. Then, starting at the base, roll each triangle tightly towards the tip to form a crescent shape. Tuck the tip under to prevent it from unrolling during baking.
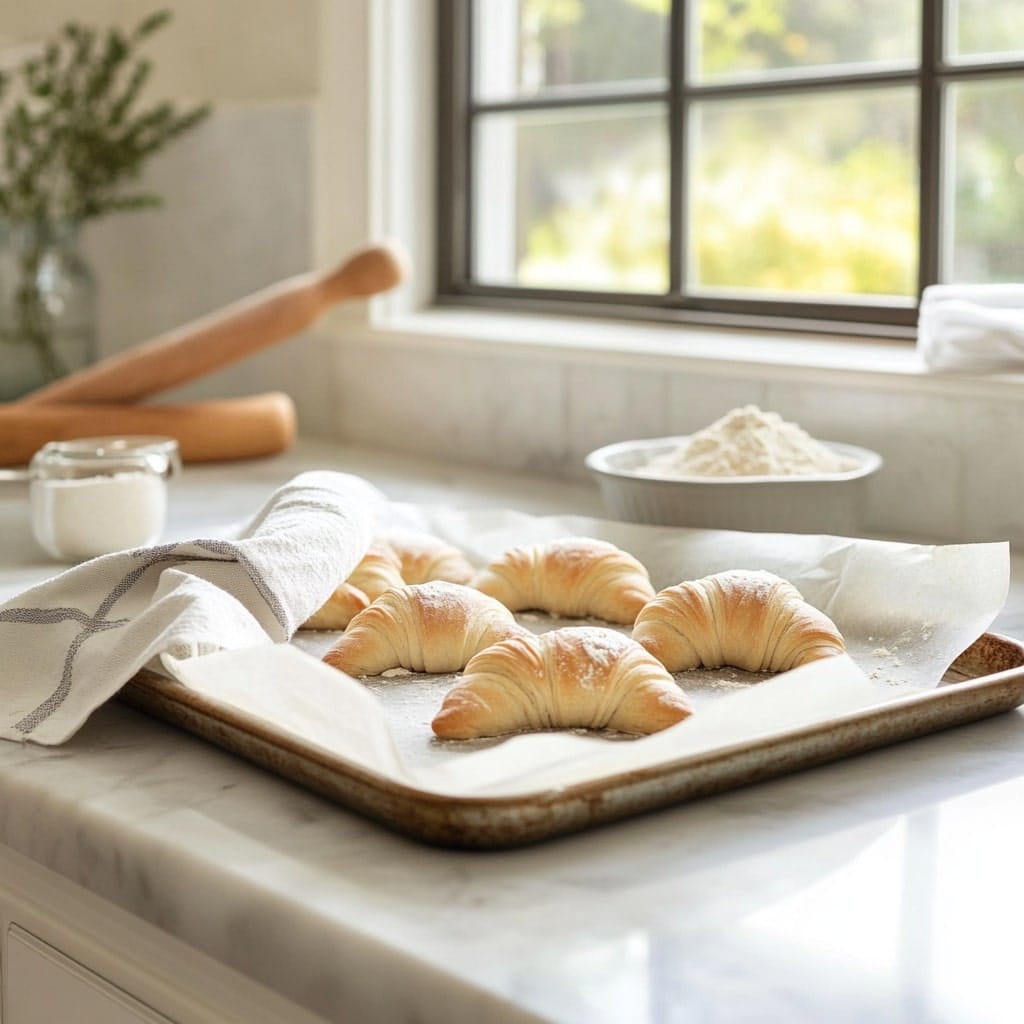
- Place the shaped gipfeli onto a baking sheet lined with parchment paper, leaving space between each one. This allows room for them to puff up without sticking.
Proof the Pastries
Cover the shaped gipfeli with a damp towel and let them rise for about 45 minutes, or until puffy. The proofing time ensures they bake evenly and achieve their fluffy texture.
Bake to Perfection
- Preheat your oven to 375°F (190°C). Make sure the oven is fully preheated before baking for consistent results.
- Mix the egg yolk and milk to create the egg wash. Brush it over the gipfeli for a golden finish. Be generous with the egg wash to enhance the shine and color.
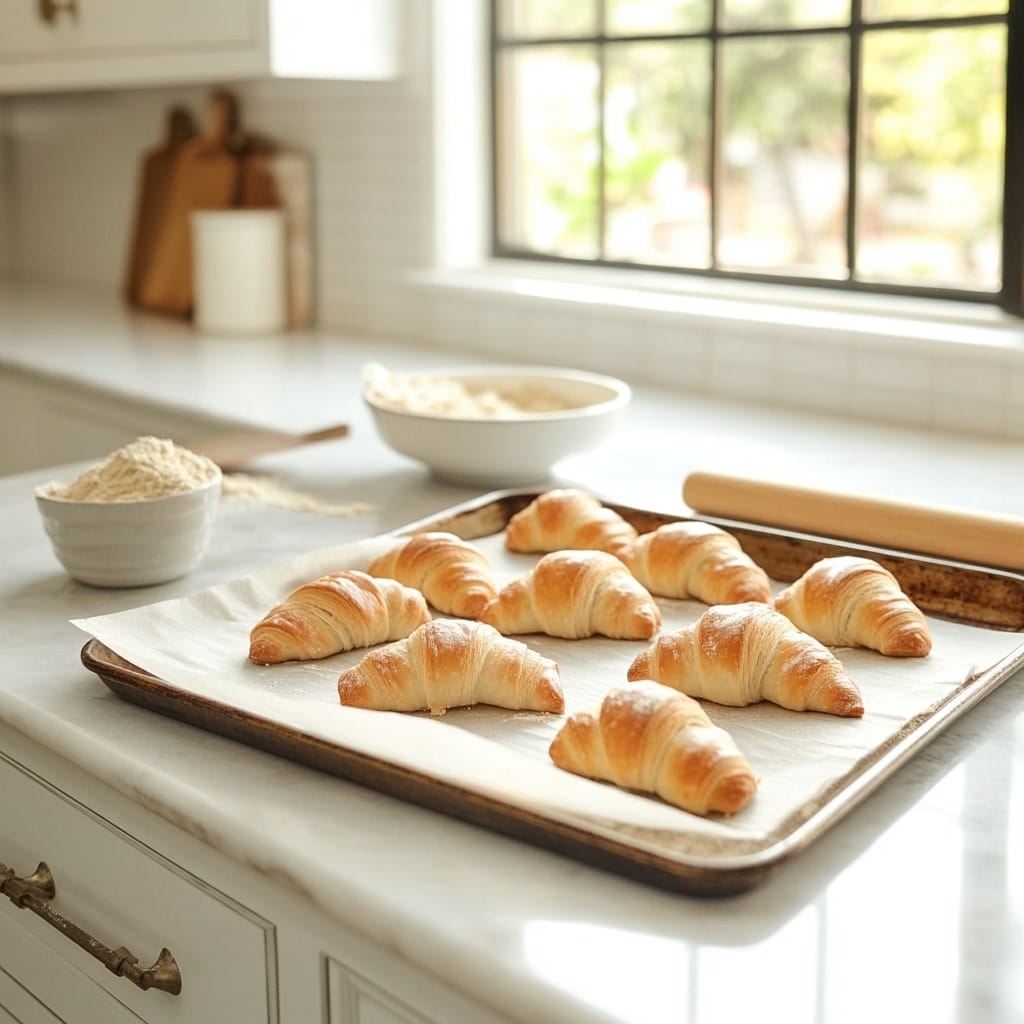
- Bake the gipfeli for 15-20 minutes, or until they are golden brown and fully cooked. Keep an eye on them to avoid overbaking.
- Let them cool slightly before serving. Freshly baked gipfeli are best enjoyed warm for the ultimate flavor and texture.
Start your day with delicious breakfast inspiration! Our Breakfast Ideas category is packed with recipes to kickstart your mornings, from flaky pastries like Gipfeli to hearty and wholesome meals. Discover the perfect breakfast to brighten your day!
Tips for Perfect Gipfeli
- Cold Butter is Key: Keeping the butter cold satisfies distinct layers. If the butter melts, the layers will blend, resulting in a denser pastry. For best results, work quickly and handle the butter as little as possible to maintain its chilled consistency. You can even chill your rolling pin and work surface for an added layer of temperature control.
- Don’t Rush the Process: Allowing enough time for chilling and rising is essential for the best texture. Each step, from laminating to proofing, builds the structure and flavor of your gipfeli. While it might be tempting to cut corners, patience truly pays off here, yielding pastries with perfect flakiness and a tender bite.
- Experiment with Fillings: Traditional gipfeli are plain or filled with chocolate, but feel free to get creative with savory options like ham and cheese. For a gourmet twist, try fillings like smoked salmon with cream cheese or a dollop of pesto with sun-dried tomatoes. Sweet lovers might enjoy almond paste or a cinnamon-sugar blend.
- Use High-Quality Ingredients: With a pastry as simple as this, the quality of your ingredients shines through in the final product. Opt for European-style butter with a higher fat content for richer flavor, and use fresh, high-grade flour for the dough. Even your choice of fillings can make a difference—premium chocolate or artisan cheeses will elevate your gipfeli to the next level.
- Choosing the right butter can make all the difference when baking pastries like Gipfeli. The quality and fat content of the butter greatly impact the flavor and flakiness of the dough. Learn more about how to choose the best butter for baking to ensure your pastries turn out perfectly every time
Variations to Try
- Whole Wheat Gipfeli: Substitute half of the all-purpose flour with whole wheat flour for a nuttier flavor.
- Chocolate-Filled: Add a small piece of chocolate at the wide end of the triangle before rolling it up.
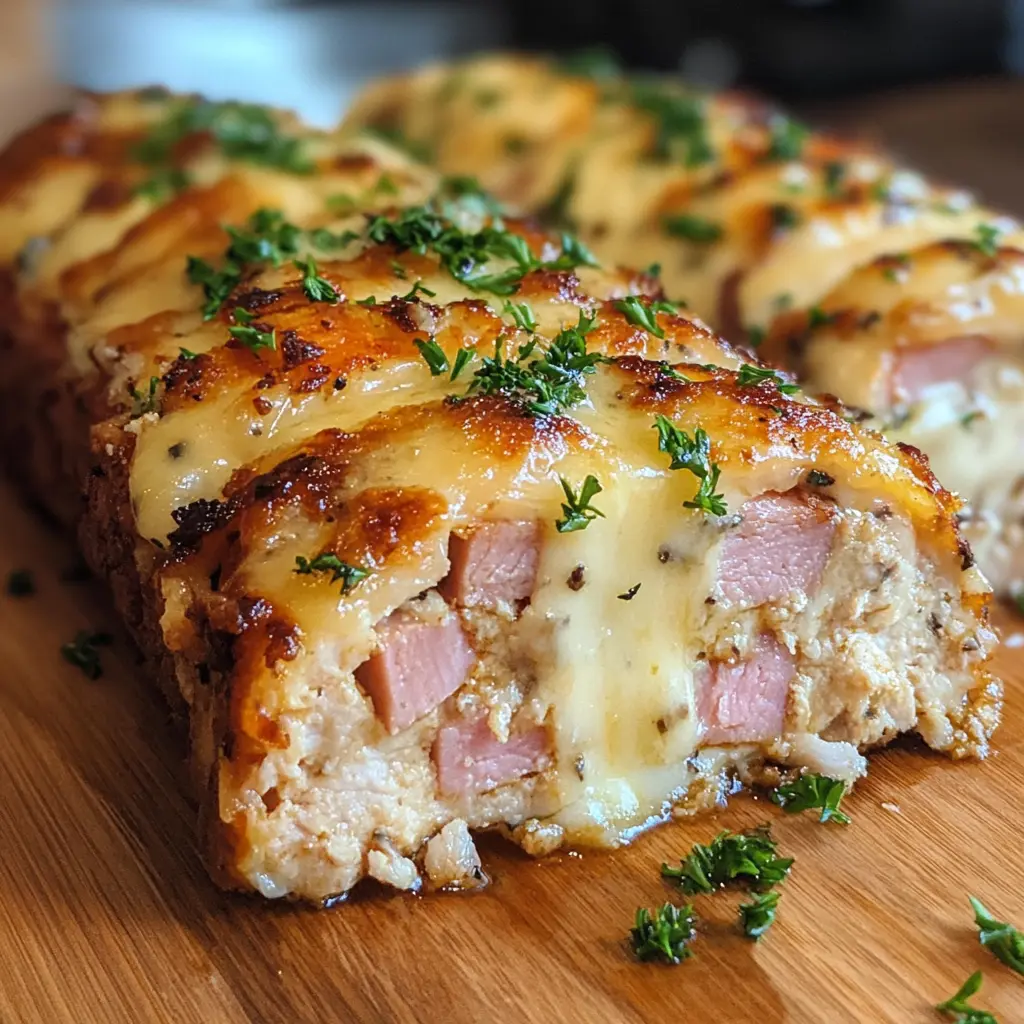
- Ham and Cheese: For a savory twist, layer thin slices of ham and cheese before rolling.
- Nutella Dreams: Spread a thin layer of Nutella on the dough before shaping for a sweet surprise.
- Almond Glaze: Drizzle with a simple almond glaze after baking for extra decadence.
Frequently Asked Questions
1. Can I freeze gipfeli dough?
Yes! Freezing is a great option if you want to prepare gipfeli in advance. After laminating the dough, tightly wrap it in plastic wrap or place it in an airtight container. When you’re ready to bake, transfer the frozen dough to the fridge and let it thaw overnight. Once thawed, continue with shaping and baking as directed. Freezing satisfies that you can have freshly baked pastries without starting from scratch every time.
2. What’s the difference between gipfeli and croissants?
Gipfeli are a delightful twist on croissants. While croissants are ultra-flaky, buttery, and rich, gipfeli are a bit denser with a slightly more restrained buttery flavor. They’re often mildly sweet or neutral, making them versatile for both sweet and savory fillings. Their texture also makes them feel heartier, which many people love for a satisfying breakfast.
3. Can I make these ahead of time?
Absolutely! Shaping the gipfeli and letting them rise overnight in the fridge is a fantastic way to save time. The chilled rise not only simplifies your morning routine but also develop the flavor of the dough. When morning comes, just brush on the egg wash and bake. This method satisfay fresh, warm gipfeli without the early-morning effort.
4. Why isn’t my dough rising?
A dough that won’t rise can be frustrating, but the fix is usually simple. First, check your yeast. Is it within its expiration date? Expired yeast won’t activate properly. Also, make sure the liquid you’re using is warm—not too hot, not too cold. Ideally, it should be around 100-110°F (37-43°C). If the environment is too cold, try placing your bowl in a slightly warm spot, like inside an oven with the light on or near a sunny window.
5. How do I keep the layers from sticking together?
Keeping your work surface and tools lightly floured is key, but it’s a balancing act. Too much flour can interfere with the dough’s texture, while too little can make it sticky and hard to handle. Dust your surface sparingly, and use a soft pastry brush to remove excess flour before folding or rolling. Additionally, chilling the dough between turns helps maintain those distinct layers, preventing them from melding together.
Making gipfeli from scratch might take a little time, but trust me, it’s worth every buttery bite—and then some. The satisfaction of pulling a tray of golden, flaky pastries from your oven is unmatched. Imagine the crisp layers melting in your mouth, paired with your favorite morning coffee or tea. Not only do you get to enjoy these heavenly treats fresh, but mastering this recipe also makes you the go-to for impressing guests and family. Whether it’s a weekend brunch, a special occasion, or just a moment to treat yourself, homemade gipfeli truly shine. So, roll up your sleeves and dive in; the results are absolutely delicious. Happy baking and enjoy every single bite!


