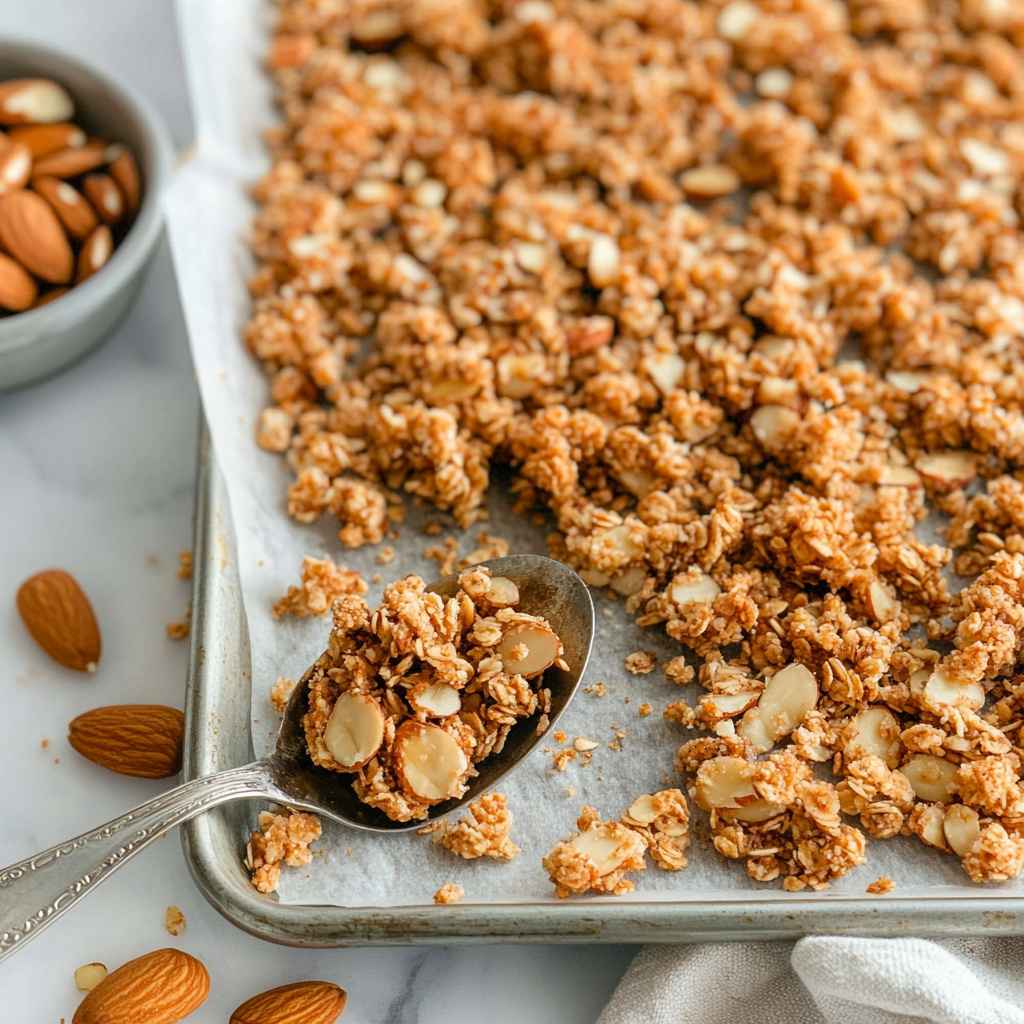
Let’s talk about granola. Store-bought versions are fine, sure—but nothing beats the flavor (and the smell!) of homemade granola straight out of the oven. Plus, you get to control the ingredients, which is a win for anyone looking to skip preservatives or adjust sweetness levels. Today, I’m sharing my favorite vanilla nut granola recipe, which is as tasty as it is versatile. Whether you want to sprinkle it on yogurt, enjoy it with milk, or munch on it by the handful, this recipe has you covered.
Why You’ll Love This Vanilla Nut Granola Recipe
First off, the combination of vanilla and nuts is, hands down, amazing. The vanilla adds warmth and sweetness without being overpowering, while the nuts bring that perfect crunch. Oh, and let’s not forget the smell—your whole kitchen will smell like a cozy bakery. If you’re into meal prep, this recipe makes a big batch that’ll last you all week (if you don’t eat it all in one sitting, that is).
If you’re all about starting your day with something wholesome and satisfying, you’ll love checking out more recipes in my Breakfast category. From quick bites to hearty meals, I’ve got plenty of ideas to make your mornings better—because breakfast should always be something to look forward to!
Table of Contents
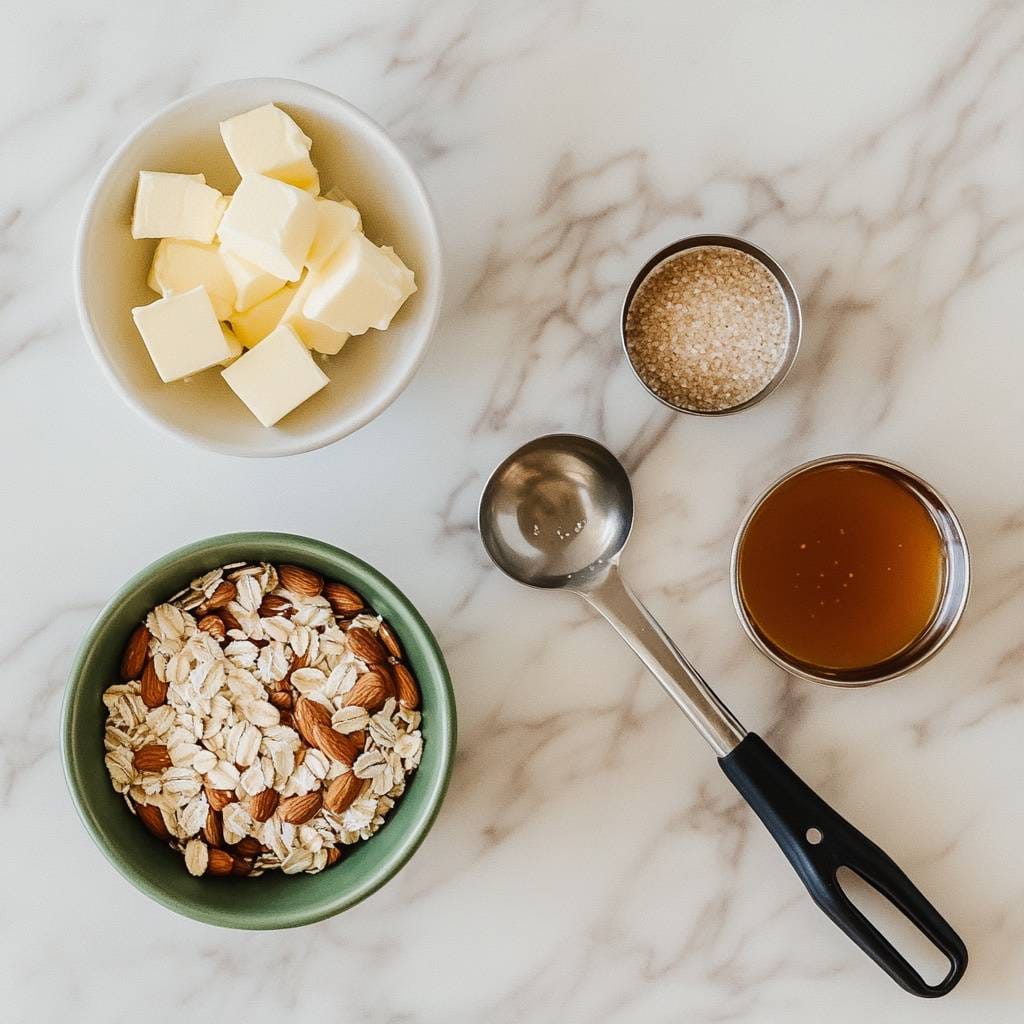
Ingredients You’ll Need
Here’s the beauty of granola: it’s super customizable. But for this recipe, we’re going for classic vanilla nut goodness.
- 3 cups old-fashioned oats (not quick oats—they’ll get too soggy)
- 1 cup mixed nuts, roughly chopped (almonds, pecans, and walnuts are my go-to, but use whatever you like!)
- 1/2 cup shredded coconut (optional, but highly recommended for extra flavor)
- 1/4 cup sunflower seeds
- 1/4 cup pumpkin seeds
- 1/2 teaspoon salt
- 1 teaspoon ground cinnamon
- 1/3 cup coconut oil or melted butter
- 1/3 cup maple syrup or honey
- 2 teaspoons pure vanilla extract
- 1/2 cup dried fruit (like cranberries, raisins, or chopped dates; optional but delicious)

Step-by-Step Instructions – Vanilla Nut Granola Recipe
Step 1: Preheat Your Oven
Set your oven to 325°F. Line a large baking sheet with parchment paper or a silicone mat to make cleanup easier.
Step 2: Mix the Dry Ingredients
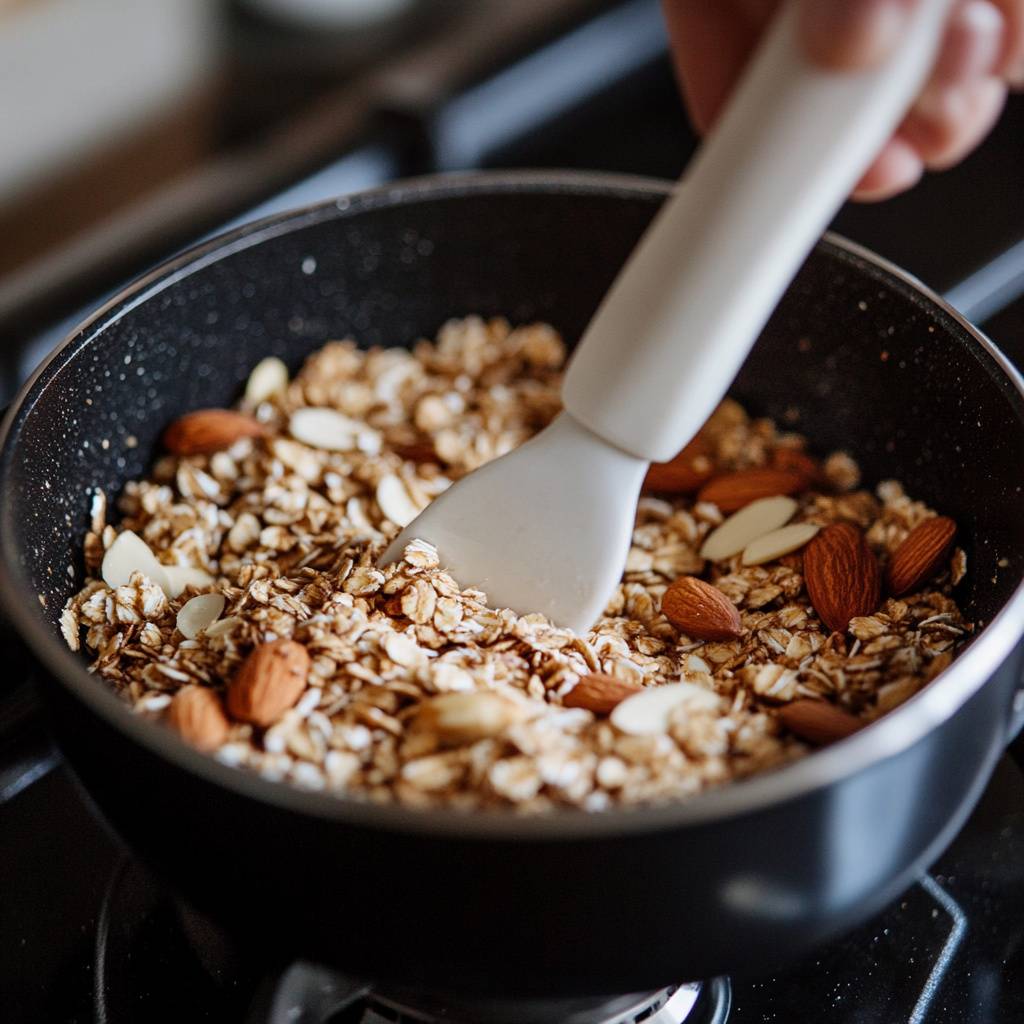
In a big mixing bowl, combine the oats, nuts, shredded coconut, seeds, salt, and cinnamon. Stir it up so everything gets evenly distributed.

Step 3: Make the Sweet Mixture
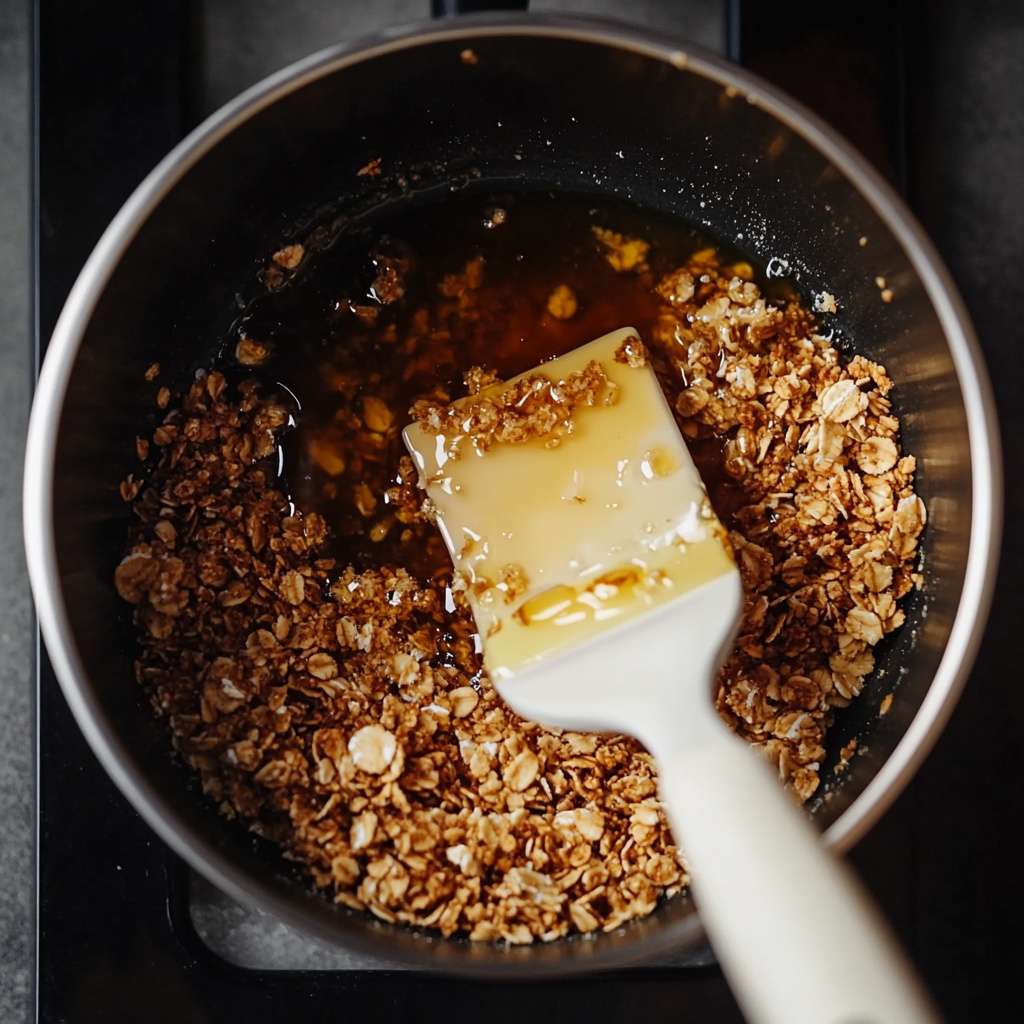
In a smaller bowl, whisk together the coconut oil, maple syrup (or honey), and vanilla extract. If your coconut oil is solid, melt it in the microwave first. This mixture is what gives your granola its sweetness and helps it clump together.
Step 4: Combine Wet and Dry
Pour the wet mixture over the dry ingredients. Here’s the fun part: use a big spoon (or your hands if you’re feeling messy) to mix everything until the oats and nuts are evenly coated.
Step 5: Spread and Bake
Spread the granola mixture onto your prepared baking sheet in an even layer. Don’t press it down too much—air circulation is key for crispy granola. Bake for 20 minutes, then give it a quick stir. Bake for another 15–20 minutes, or until it’s golden brown.

Step 6: Cool and Add Dried Fruit
Here’s the hard part: let the granola cool completely before touching it. Trust me, this step is crucial if you want those satisfying clumps. Once it’s cool, sprinkle in your dried fruit if you’re using it.
Step 7: Store It
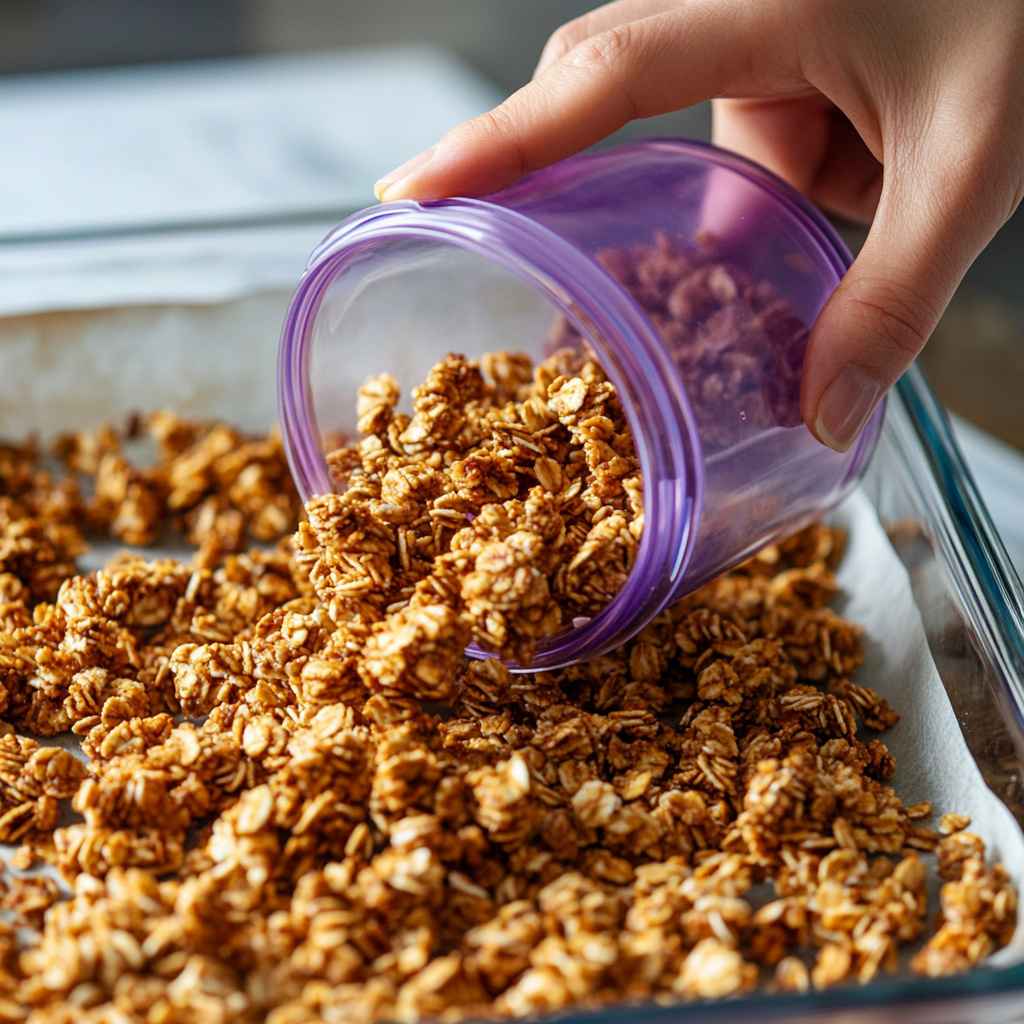
Transfer your granola to an airtight container. It’ll stay fresh for up to two weeks, but good luck making it last that long!
Tips for Perfect Granola Every Time
- Don’t skip the stirring: Stirring halfway through baking prevents burning and offers even cooking.
- Watch it closely: Granola can go from golden to burned in a flash during the last few minutes, so keep an eye on it.
- Use a big pan: The more space your granola has to spread out, the crunchier it’ll get. Crowding the pan = soggy granola.
- Go crazy with add-ins: Want chocolate chips? Go for it (just add them after baking). Craving a hint of spice? Toss in a pinch of nutmeg or cardamom.
Ways to Enjoy Vanilla Nut Granola
- Classic Bowl: Add milk (cow’s, almond, oat—you do you) for a simple yet satisfying breakfast.
- Yogurt Parfait: Layer granola with Greek yogurt and fresh berries for a fancy-looking treat.
- Snack Time: Keep a jar on your counter and grab a handful whenever hunger strikes.
- Dessert Topping: Sprinkle it over vanilla ice cream for a crunchy twist.
- Gift It: Pack it in a cute jar, tie on a ribbon, and voila—homemade gifts for the win!
Why Homemade Granola Is Worth It
Let’s be real: making granola from scratch takes a little effort, but the payoff is huge. You get to pick the flavors, adjust the sweetness, and skip all the weird ingredients you can’t pronounce. Plus, there’s something so satisfying about pulling a tray of golden, toasty granola out of the oven.
Looking for more ideas on how to enjoy granola? Check out these Creative Ways to Use Granola Beyond Breakfast for inspiration—because granola isn’t just for mornings!”This keeps the link natural and ties it into your post’s context seamlessly
FAQs About Vanilla Nut Granola Recipe
1. How do I make granola clumpier?
If you’re a fan of big granola clusters, here’s the trick: after mixing the wet and dry ingredients, press the mixture firmly onto the baking sheet. Don’t stir it while it bakes. Let it cool completely before breaking it into chunks.
2. Can I make this recipe gluten-free?
Absolutely! Just make sure to use certified gluten-free oats. Everything else in the recipe is naturally gluten-free.
3. What can I use instead of coconut oil?
If you’re not a fan of coconut oil, you can use melted butter or even olive oil for a savory twist. Just keep in mind that different oils will slightly change the flavor.
4. How do I keep granola fresh?
Store your granola in an airtight container at room temperature. For extra freshness, you can pop it in the fridge or freezer—it’ll stay crispy and delicious for months.
Conclusion
There you have it—homemade vanilla nut granola that’s crunchy, sweet, and endlessly customizable. Now all that’s left is to whip up a batch and enjoy! Trust me, once you start making your own granola, there’s no going back to the store-bought stuff. Happy baking!

